First things first, jack up the truck, sit it up on jack stands and remove the following:
| Front 3rd member removal and installation |
Rear 3rd member removal and installation |
| |
|
| Next, unbolt the swivel housing from the axel tubes.
Keep a pan under it because gear oil will leak out.
|
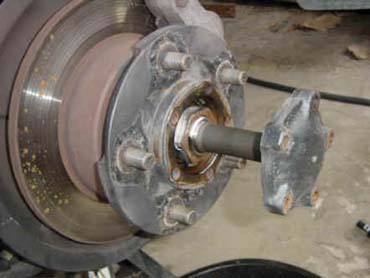
Start the rear by unbolting the axel flange from the
hubs. Pull them out a few inches until you feel them come out of the
differential.
|
| |
|
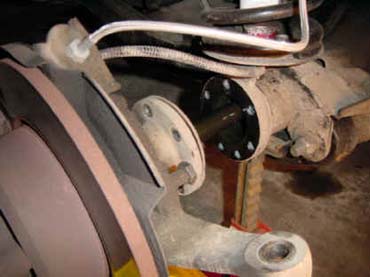
| Once the swivel housing is unbolted, carefully slide the
whole assembly out a few inches, until you feel the axel come out of the
differential. Once you have done this, it is a good idea to have a
box to set the whole assembly on. I used a plastic recycle bin
turned upside-down (just about the perfect height)
|
Again, unbolt the rear 3rd member and remove from the axel
housing.
|
| |
|
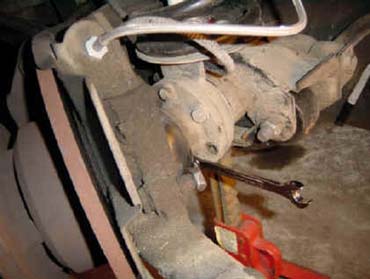
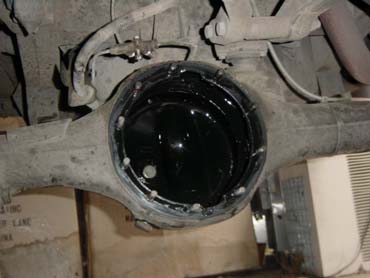
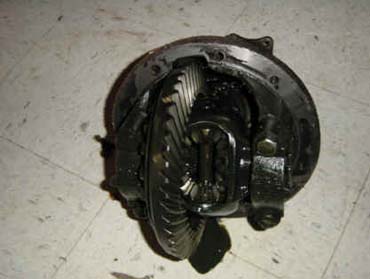
| Crawl under the truck and unbolt the 3rd member from the
axel housing. Once it was unbolted, I used a jack under the pinion
flange to crack the seal of the silicone. Not much gear oil will
leak out if you drained it. Now you can wiggle the 3rd member off the
studs on the axel housing. Once it's free of the studs be prepared
to support a LOT of weight. Pull the chunk of metal out from under
the truck and set it aside.
|
Same as the front, bolt the new unit in and re-assemble
everything.
Now moving on to the compressor. I chose the spot in front of the
airbox. Some prefer to put it in cab, mount it wherever you heart
desires. I started by clearing the area out and removing the horn
looking thing from the airbox.

|
| |
|
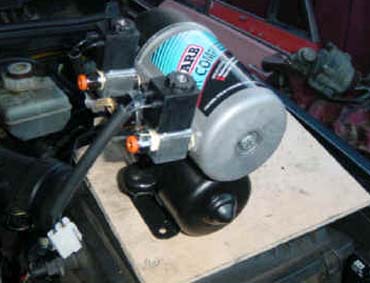
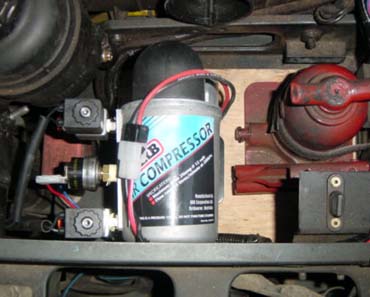
| The new arsenal.
|
Next I mounted the compressor to a piece of plywood cut out
to fit in the space in front of the airbox.
|
| |
|
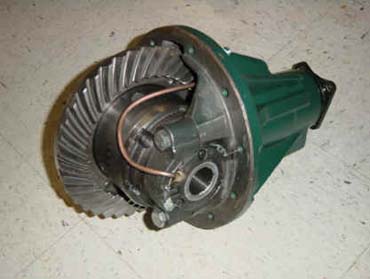
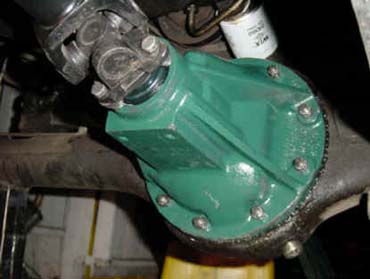
| Clean off the gasket surface on the axel housing and apply
RTV everywhere. Bolt the new unit up and re-assemble
everything. Be sure to use ample RTV a the swivel housing to axel
tube junction.
|
Secure the plywood down with some sheet metal screws.
I left enough space so that the stock bottle jack would still fit.
|
| |
|
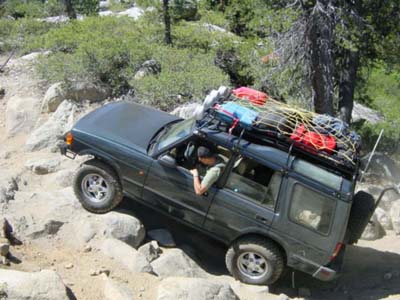
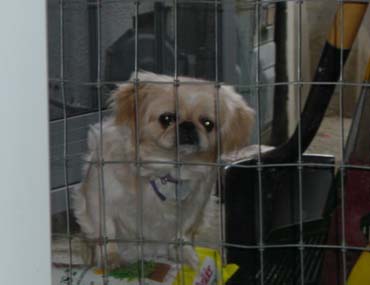
| A curious on-looker
|
Route the air-lines to the compressor from the diffs.
Also run the wiring according to ARB's instructions. I chose to
mount the relay just in front of the airbox. (visible in the
previous 3 pictures above).
The switch wiring was plumbed through the firewall near the clutch
slave cylinder. There is already a hole there that is plugged with a
plastic bung.
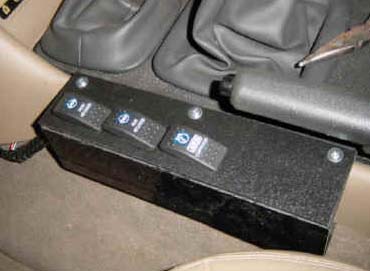
I decided to make a switch consol for my ARB switches. Below is a
picture. This was made from ABS plastic from the local plastics
shop. It also provides ample space for future switches and buttons
(lights, compressors, shields, missiles...)
|