by Tom Pearson
Click on images for a larger picture
Introduction
The following outlines the install of AedoFab Sway Bar Disconnects on my 1997
Discovery SE. A lot of folks simply go without using the Sway Bars for on-road
driving. In my opinion, I prefer to keep them on for the stability they provide
at a low cost. They can be purchased in either a set of 2 ($65 and will take
care of one end) or 4 ($125 for front and rear).
To order them email Mike Aedo.
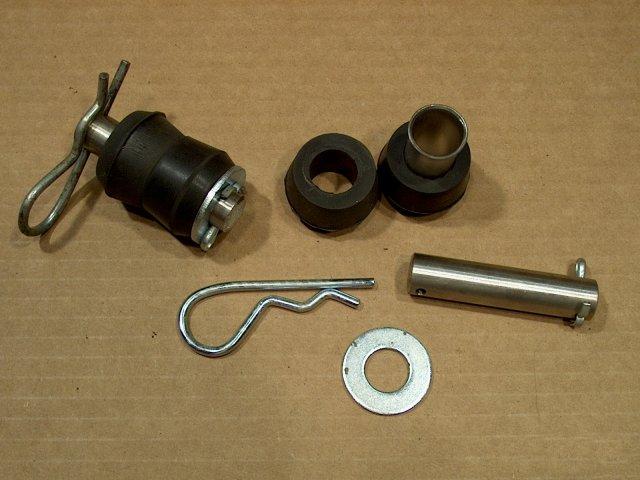
The following is a picture of the disconnect kit which can be used on either
end of the truck:
As you can see, the kits are quite simple. They consists of the following:
The kit is designed so you don't have to deal with bushings either falling out
or getting stuck in their mounts when you disconnect the sway bars. Before I had
the disconnects when I was bolting my sway bar on and off at the trail, one of
the biggest pains was when the bushings would get fused into their spot on the
ball joint or fall out and bounce away. Also, without the support of the flange,
the ones stuck in would be sure to fall out on the trail, so you are forced to
remove them and (hopefully) put them back in the same location they came out of.
They never seemed to fit right otherwise.
Installation
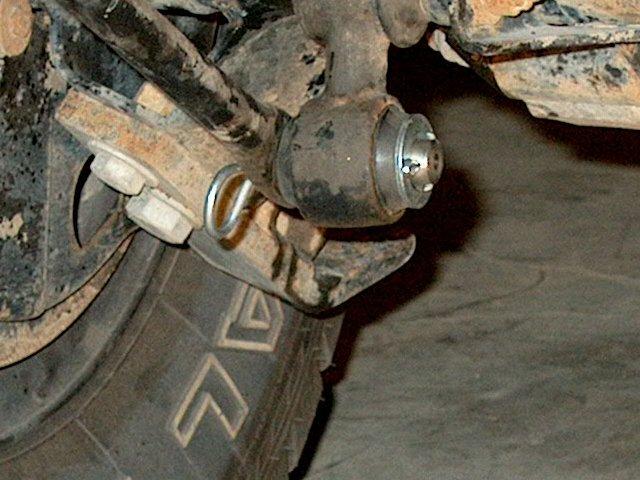
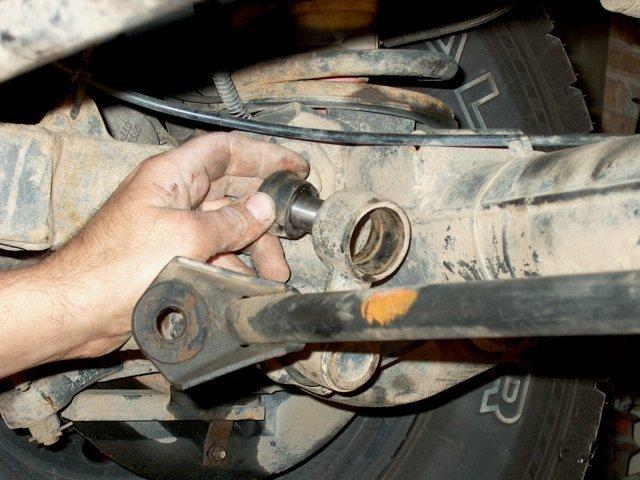
The first shot shows the sway bar already disconnected. To remove the existing
bolts and bushings, simply unbolt them and remove the old bushings, using pliers
if necessary. Spraying a little WD40 on them helps break them free as well.
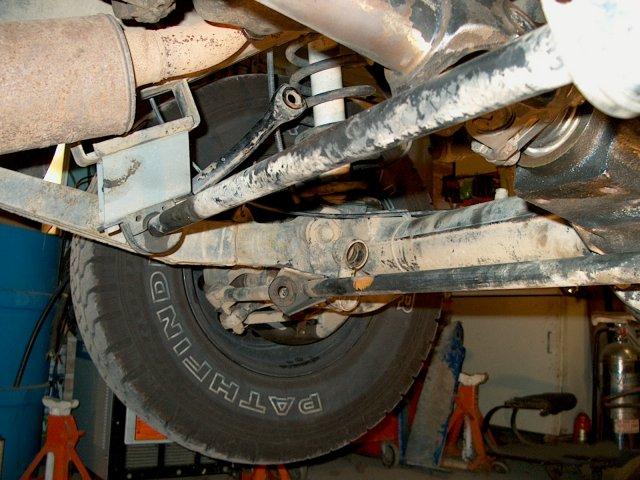
In the above shot, You can see the front Sway Bar Extension installed, also by
Aedofab. If you have a 3" or taller lift, you may have noticed that the front
drive shaft rubs on the sway bar in its stock position. These extensions alleviate
this issue by pushing the sway bar down further from the frame while not adversely
effecting stabilty or strength.
Step 1
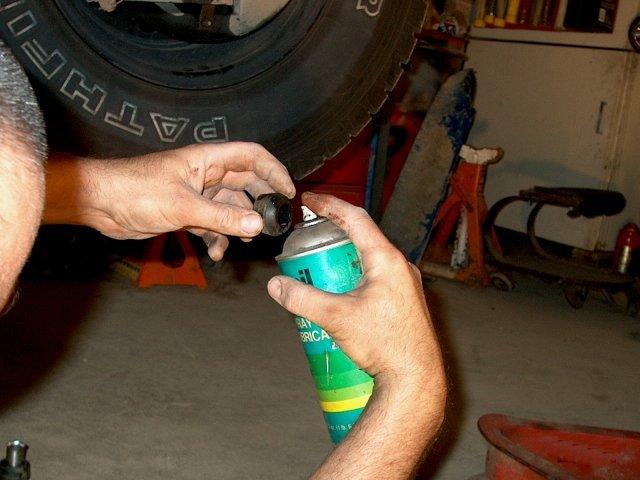
Lubricate one of the rubber bushings using spray silicone and slide it onto the
flanged stainless steel sleeve. You want the end with the smaller circumference
to be towards the center of the sleeve
Step 2
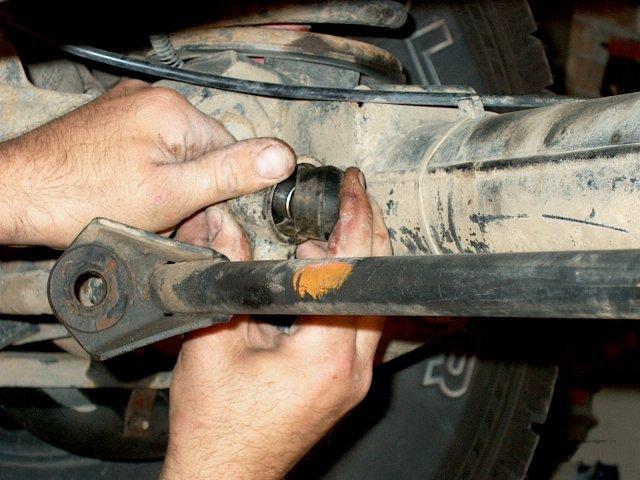
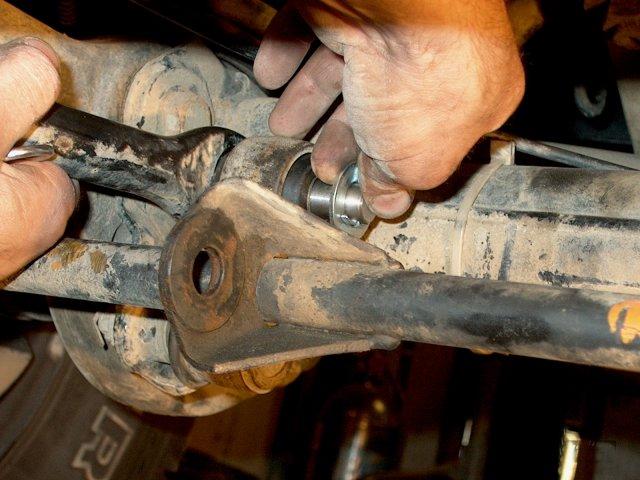
Insert the sleeve with one bushing on into the mount. Once fitted in its mount,
slide the other bushing over the sleeve. It will be a tight fit, so you may need
to use channel locks or pliers to assist.
Step 3
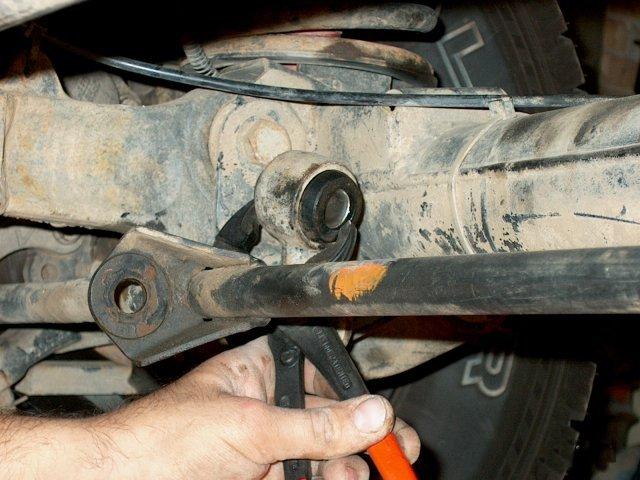
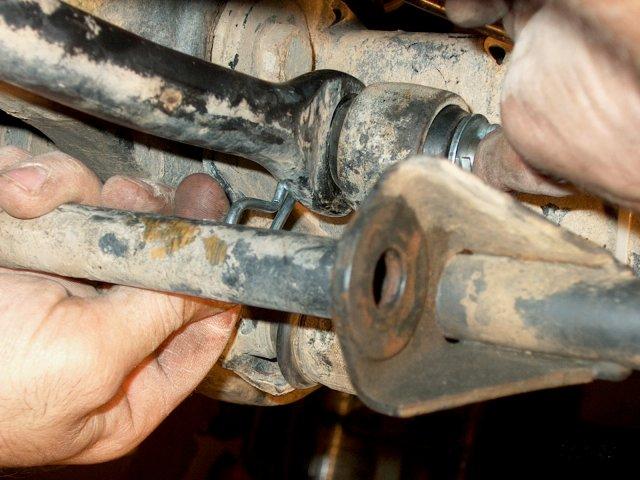
Slide the pin through the sleve with the washer and cotter pin on the side without
the bar.
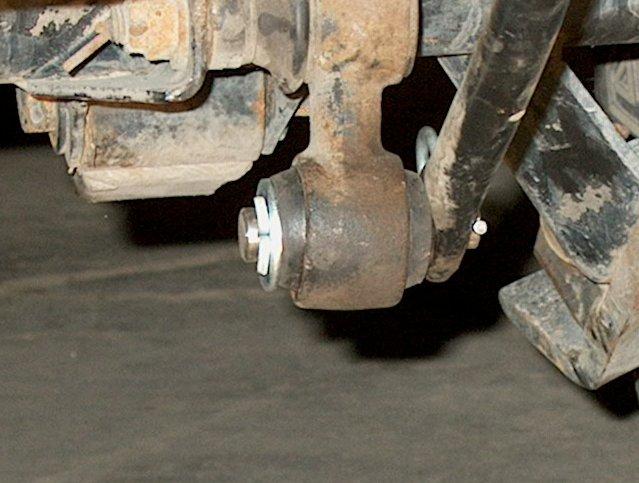
Step 4
Insert the cotter pin and repeat for the other ends. To disconnect the bar later,
simply pull the cotter pin and slide the center pin out. The bushings will stay
in place while you are wheeling.
Here are some shots of the disconnects installed: