Fender Flares for Discovery
by Alan Stuart
pics by Q Henry
by Alan Stuart
pics by Q Henry
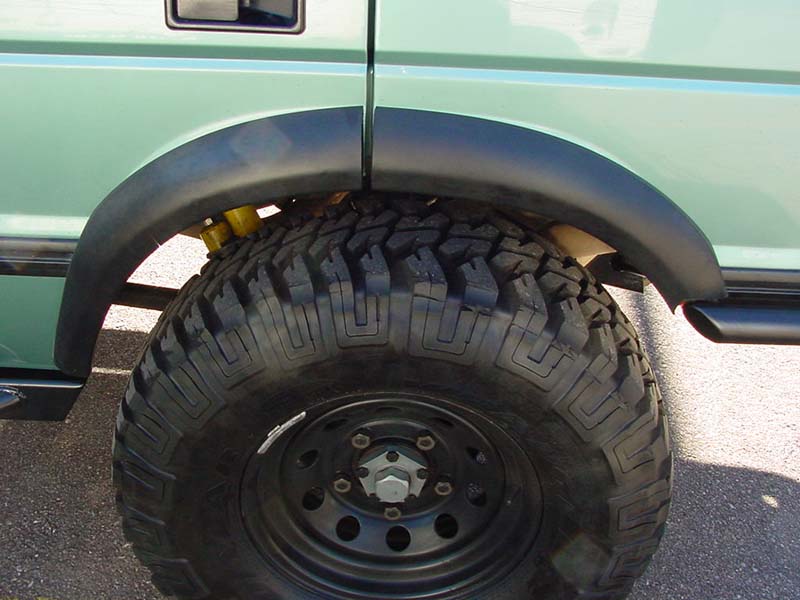
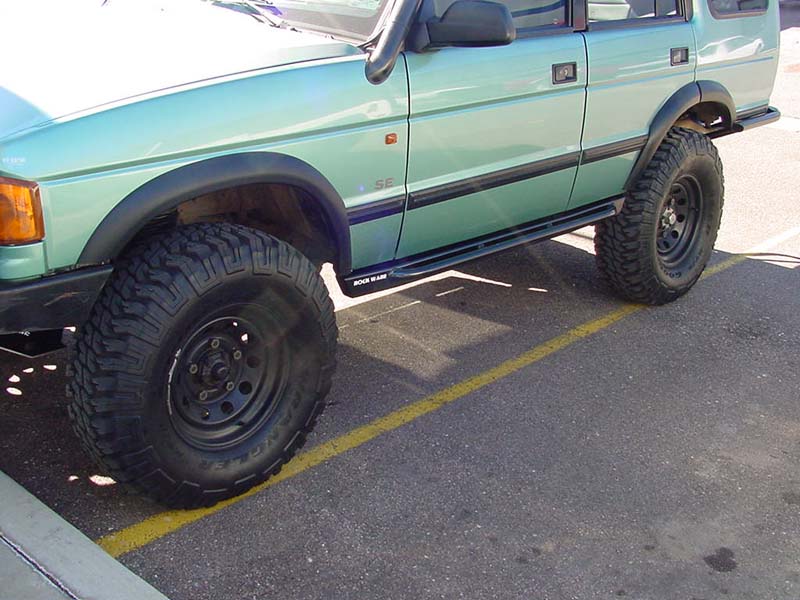
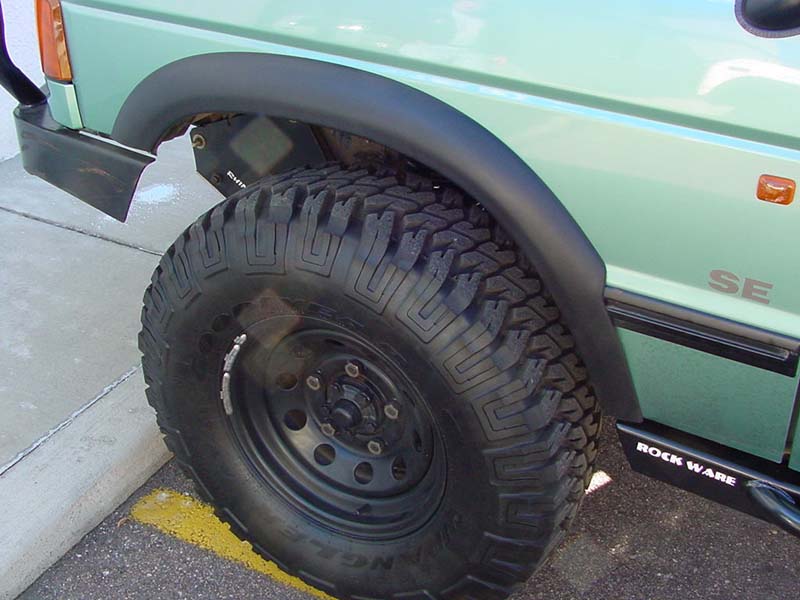
The front and rear fenders were cut to make room for 33" + tires. I used
factory flares from a Disco II to cover the damage. The fronts were easy
and look like they came from the factory that way. What I did was hold the
flares to the fender as a template and marked where I wanted to
cut. I used a jig saw for most of the cut and a reciprocating saw for the rest. I then took the
part I cut which includes the lip under the fender and riveted it to the
underside of the cut out fender. I did this to give the fender some
support, and for something to screw the flare to. The upper edge of the
flare comes with peel-off stick tape. I put the flare in place on the
fender with the top held on by the superduty stick tape. I then drilled
about 4 or 5 holes through the bottom lip (underside) of the flare and
through the fender lip where I used black body trim screws to keep the flare
secure. The screws can't be seen because they are on the bottom, underside
of the flare. I did have to cut the front edge of the flare off to fit, but
it doesn't show.
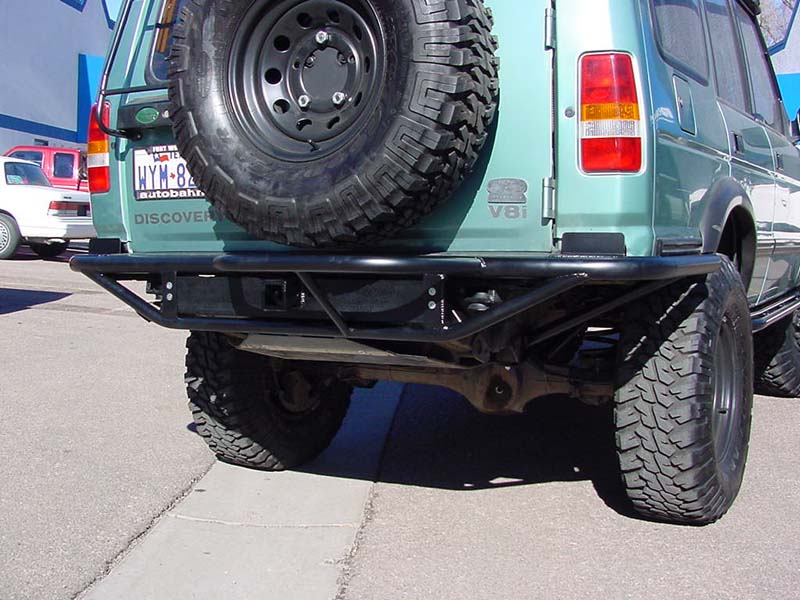
The rears look good, but don't fit as well as the fronts. I did not cut the
doors, but rather moved the entire
axle back. If you are running a double cardan joint rear drive shaft, the
axle needs to be moved back about
� inch to get the proper pinion angle and for a 275/85R16 (33") tire to
clear the door. If you are using the
factory shaft you may not need to move the axle back at all, or you may need
to move it back � inch or so
to get the proper angle and clearance. Your results may vary. I am using a
new fulcrum bracket (upper a-arm bracket) machined from a solid block of
steel (expensive). However, Rovertym makes an adapter you
can use (much less expensive). I am also using Rovertym's adjustable
trailing arms. The spring mounts don't really need to be changed. Now back
to the flares...
The rear flares come in two pieces. So for both sides, there
were four pieces. I used the rear left side piece for the front (door)
right side, and the rear right side piece for the front (door) left side
(still talking about the rear wheel, here). I will list the part numbers
later. I did this because the part that goes on the door of the DII doesn't
fit well on the DI door, at least without cutting the door. On the rear
part of the fender, again, I held the flare as a guide and marked where I
wanted to cut. I made the cut, and riveted the lip back on the underside
of the cut fender, the same as I did the for the front fenders. The tape
held the top of the flare and 3 black body trim screws were used to secure
the flare from the underside, bottom. I cut off both ends of the flare to
line up with the edge of the body and rub strip. Since there is no lip on
the door, I couldn't secure the bottom of the door flare with screws. So
what I did was get some industrial strength black adhesive, built up the
back side of the flare with 1/3 inch round weather strip material (to bring
the flare out to where it is even on the body with the other pieces), and
then glued the entire flare on the door. I did have to cut the top end and
also trim the inside lip of the flare to make it look finished. I filled
the top ends of the flare with the black adhesive so I wouldn't see the
open, cut part when I opened the door.
I worked slowly and deliberate, so the whole thing took one full Saturday.
The part numbers for the flares
are; fronts DFJ100440 (one), DFJ100450(one); rears DFK100940 (two),
DFK100950 (two)