Disclaimer - The following is a redneck installation of a rockware long travel suspension kit. Using OME springs it achieved about 2 to 2.5 inches of lift. Many thanks to Kyle Van Tassel and his good friend Todd, who both did the majority of the work. If Kyle wasn't working he was supervising and Todd also helped out and let us use his garage.
TOOLS NEEDED
LIFT KIT DETAILS
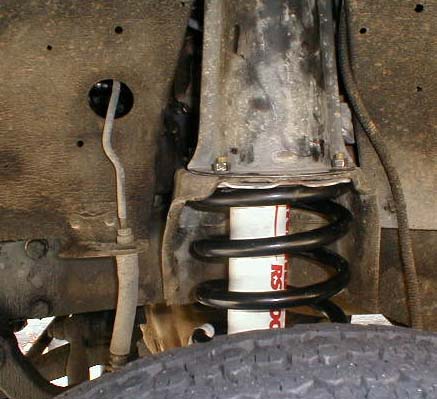
This is the front spring and shock. The spacer is located between
the spring perch and the axle.
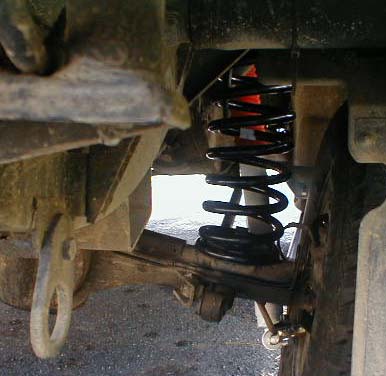
Rear mount with some flex.
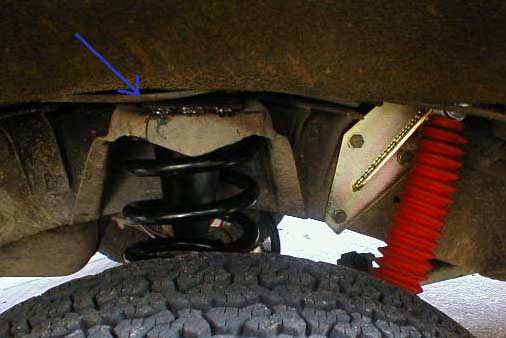
Rear top spring mount with the cone welded in place
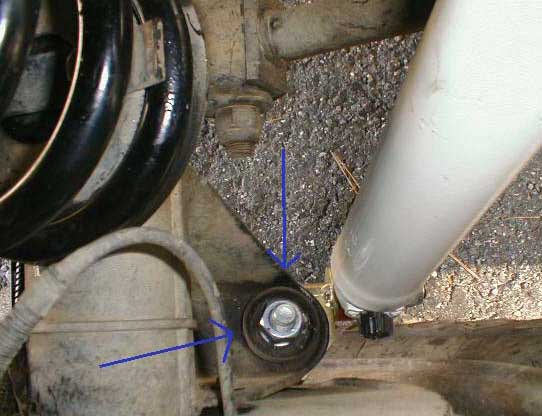
There is a metal cup like you see here on the underside also. it has to be persuaded
off to mount the lower shock mount. A hammer and chisel work great. You will also need
to frill a separate mounting hole behind this bolt, we chose not to and just welded since
it would be just as durable and easier.
Arrow points to where the rear shock mount was welded
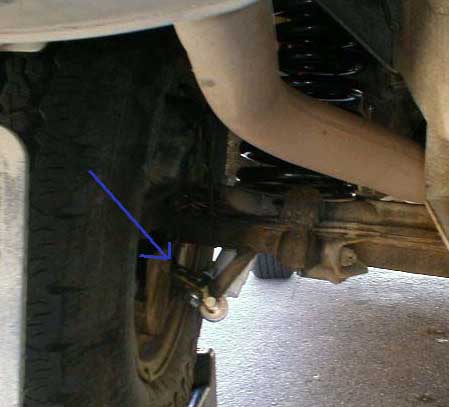
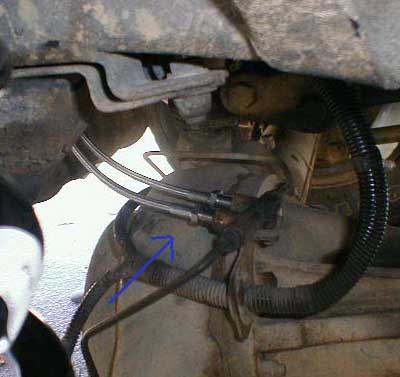
Stainless steel brake lines, most needed for the rear. The stock lines will over-extend
easily. This was actually the hardest part of the install because the lines are hard to reach
and the original fitings used loctite on the treads.
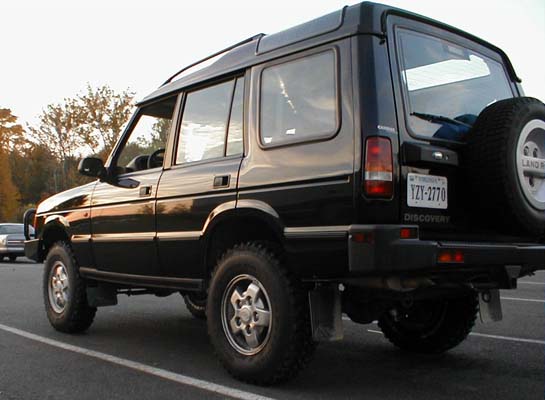
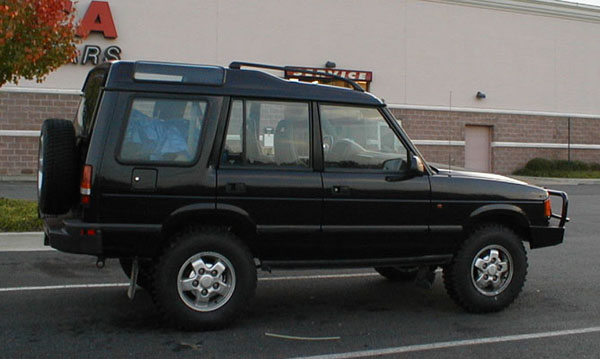
And here you can see the finished product on 235/85-16 BFG MTs:
SUMMARY
The total install took about 5 hours and was fairly easy. This is a two man job, just take your time. The ride is great and is just like stock except I don't bottom out anymore. I was afraid the rear heavy duty springs would be too much but they suit me just fine. The rear sway bar is off and the truck handles differently but not too bad, it'll just take getting used too. Power is down a lot with the 32" tire, the tranny wants to downshift a whole lot more than usual and the mud terrains make more noise but they're not as bad as swampers. If I had to do it again I would probably buy a mig welder and make the shock mounts, the rockware stuff is nice but not too hard to make. One of the rear shock mounts wasn't drilled out correctly so only 2 holes lined up, we compensated by making a one inch weld near the location of the third hole. Just email me at [email protected] if you have any questions.