by Blue
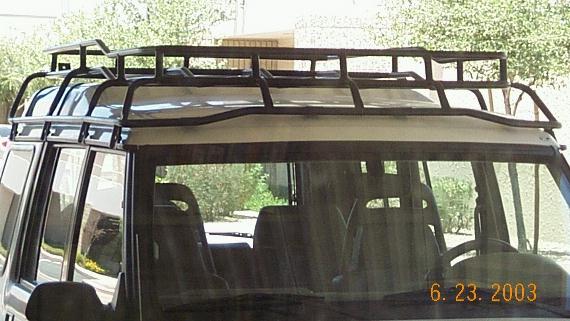
In order to fit a low-profile, XD Model Land Rover Adventure Roof Rack, I had to remove the stock roof rails that are hard-mounted to the Discovery's roof via four (4) bolts (2 on each rail). One needs to simply unbolt the rails, but the hard part is gaining access to the nuts located above the headliner. The following steps enable one to drop the headliner just enough to get to the bolts. You do not need to completely remove the headliner from the vehicle.
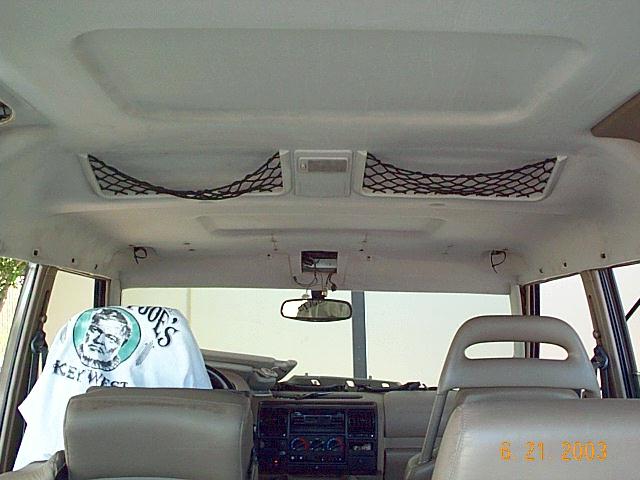
1. Completely remove the plastic trim containing the sun visors and overhead map pockets. There are several phillips head screws securing the trim to the roof. Most of these screws are deeply recessed and require an extension on a typical cordless screwdriver. You will need to disconnect the wiring for the overhead light in the center, and also disconnect and secure the sun visor light wiring - if you don't secure the wiring, it can get lost up above the headliner - I used zipties to hold it in place.
2. Completely remove the four (4) passenger grab handles located above the door openings.
3. Unscrew and remove the small sun visor retention clips. These clips utilize "one-time" mounts, but they can be recycled with care. Don't be surprised when they break, though.
4. Gently pull the upper portions of the A-pillar interior trim free from their mounting holes. Be gentle, as the metal mounting clips have a plastic base that is easily broken.
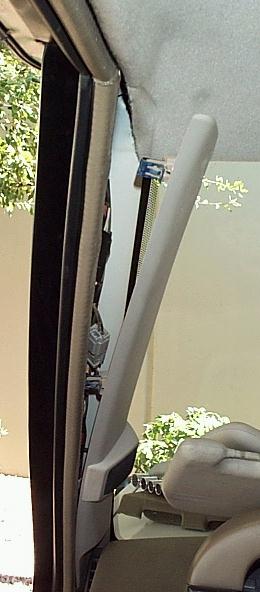
5. What we're trying to do is give the headliner just enough play to let you drop it down enough to access the roof rail retaining nuts. You will find that the B-pillar interior trim extends just a little bit over the headliner - with a little work, you can coerce the headliner up & over this trim piece without damaging the headliner or it's shell.
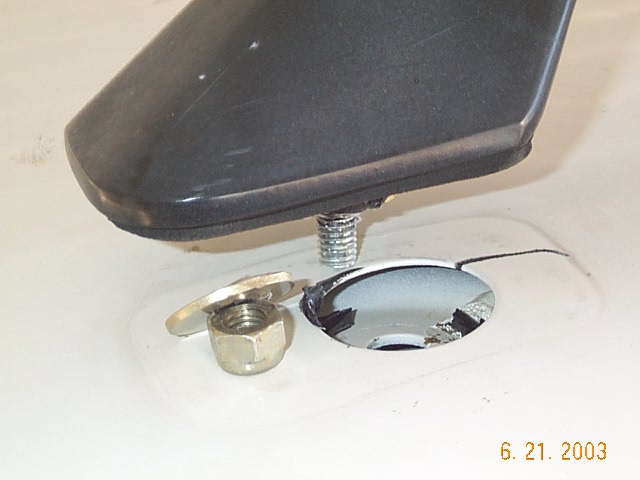
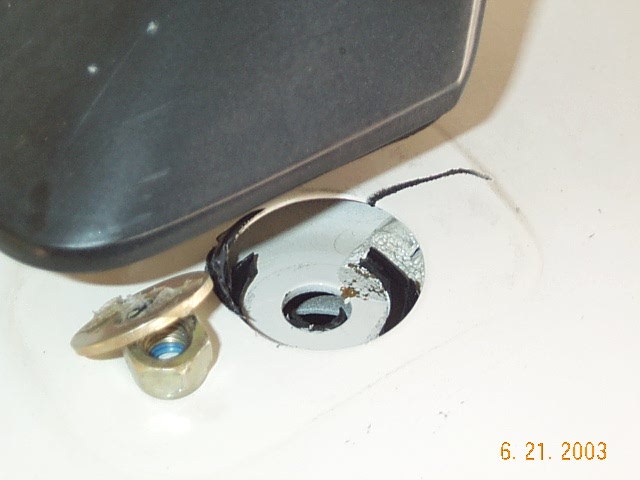
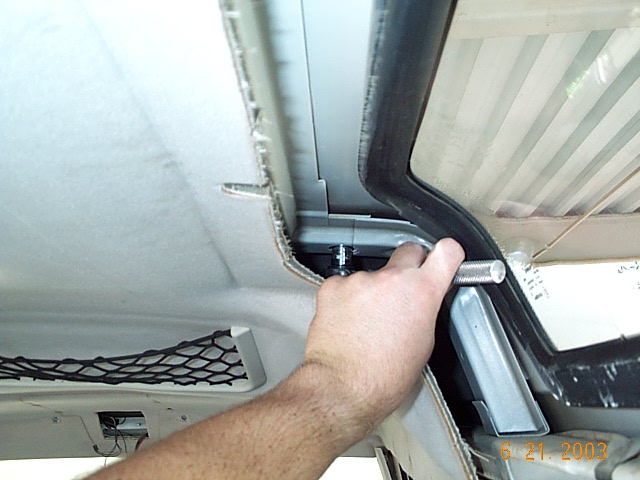
6. Now the front headliner area should be free to move just enough to let you get your hand and a wrench up above it to loosen the front roof rail retaining nuts (13 mm).

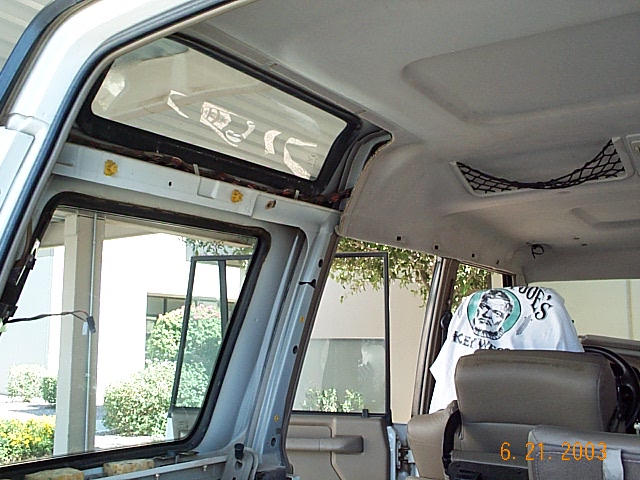
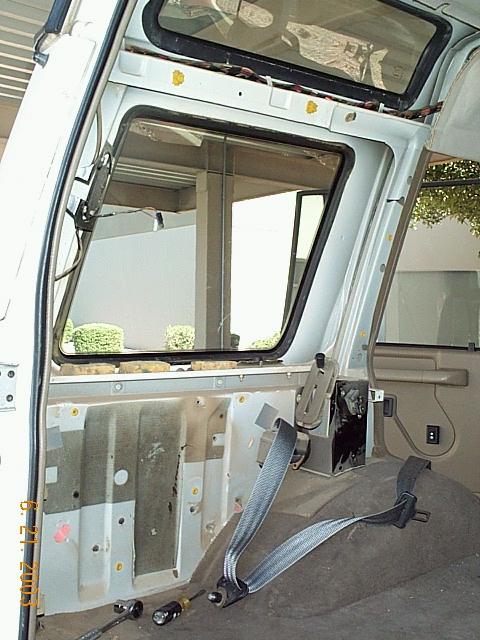
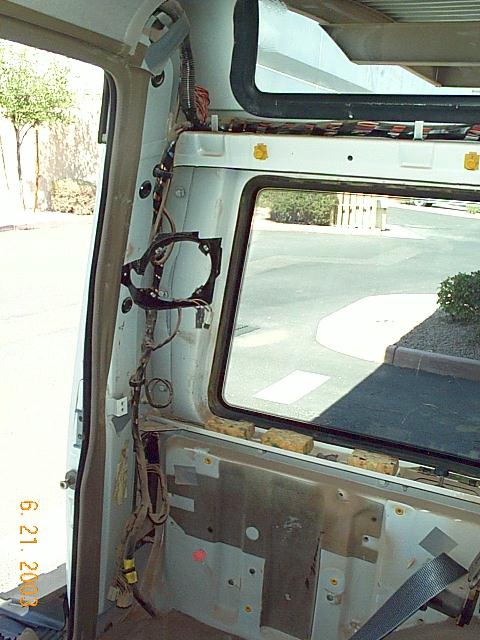
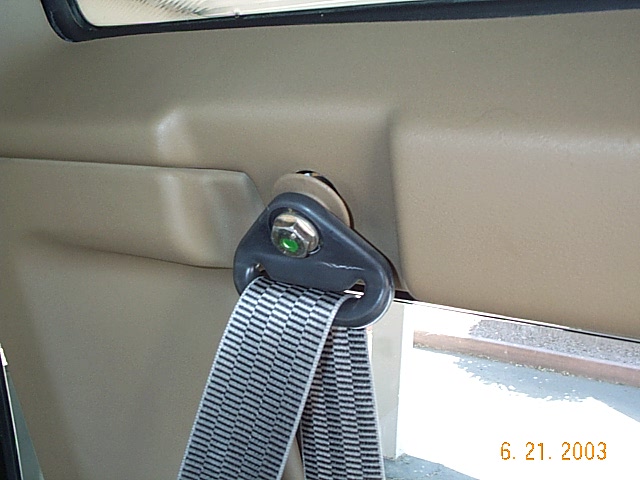
7. Now on to the rear roof rail retaining nuts. This is a classic automotive case of "in order to remove part A, you first have to remove seemingly unrelated parts B, C, D, E, F, G, H, etc." To access the driver's side (US) rear rail nut, I followed the published Land Rover service manual instructions for headliner removal and ended up removing all of the driver's side rear interior cargo trim pieces, including the rear speaker, rear seatbelt shoulder mount, and cargo cover mount. As you'll see in the following pictures, you have to remove the trim around the alpine windows to allow the rear headliner to drop. But to remove the alpine trim, you have to practically dismantle the whole interior. All of the interior pieces are kept in place with a variety of fragile plastic rivets and miscellaneous screws. Just keep popping rivets carefully until the panels come free.
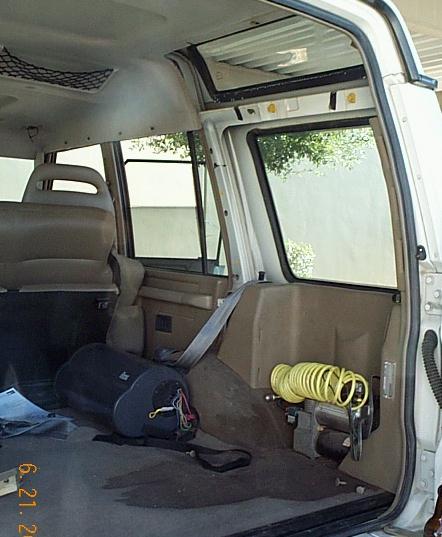
8. On the passenger side, however, I took some shortcuts and was able to drop the headliner enough without removing all the rear cargo trim or the rear speaker.
9. That's it, now put it all back together.
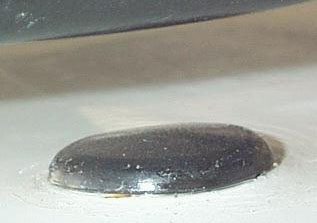
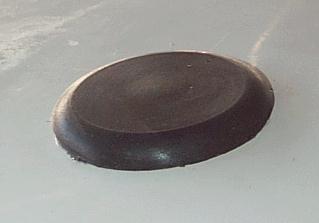
10. To plug the new holes on the roof, I ordered rubber plugs from Steele Products, 1-800-544-8665, Part # 35-0517-45, 1-3/8" plugs with a 1-3/4" cap.
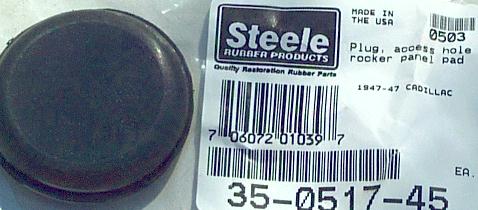
The holes in the roof are exactly 1-3/8" diameter. Cost is $2.70 each, my total for 5 plugs was $18.93 (plan ahead and order an extra). The holes will come in handy when it comes time to wire roof rack lights and a CB antenna. Many thanks to Greg Davis for referring me to Steele Products.