(***without removing Y-pipe and splitting the case)
|
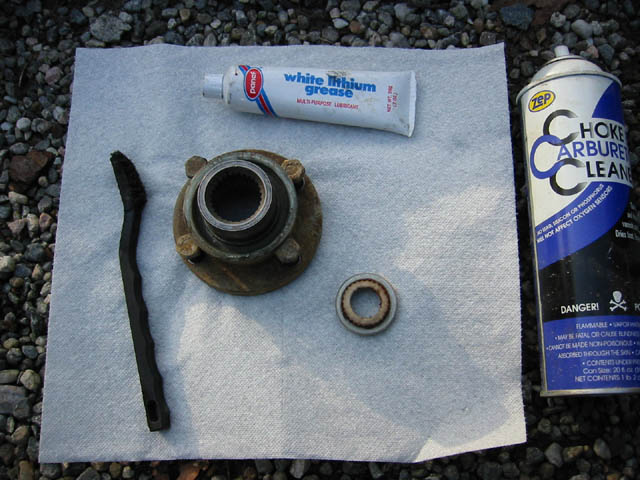
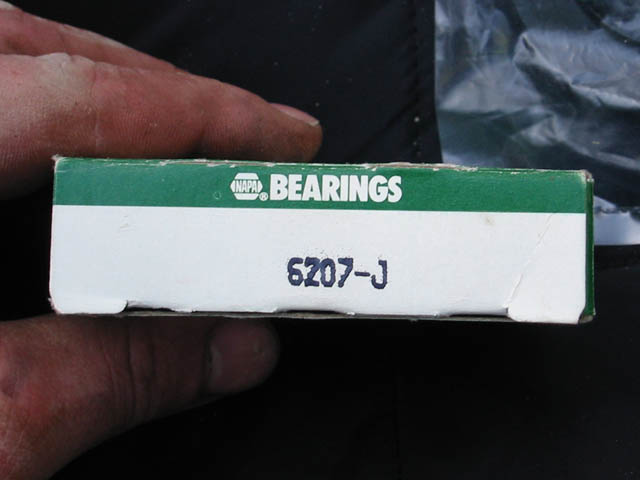
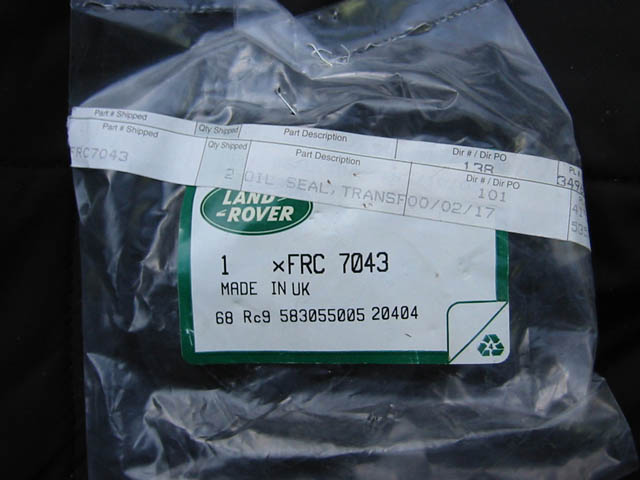
Parts Needed: †- bearing (6207) †- oil seal, genuine (FRC 7043) †- wheel bearing grease †- white lithium grease or graphite grease †- transfer case oil (80/90W) †- carb cleaner, wire brush or steel wool |
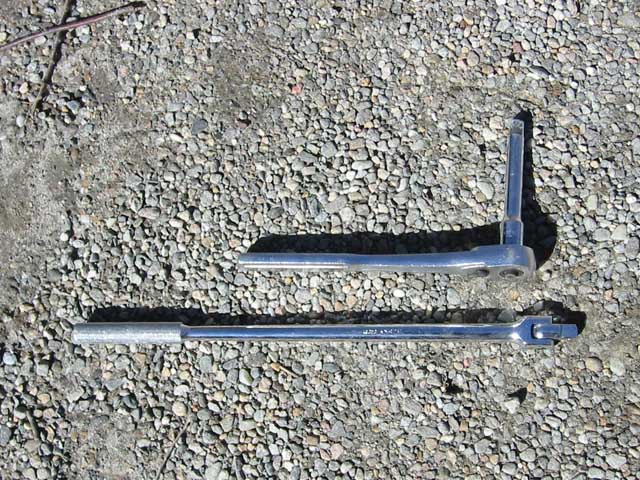
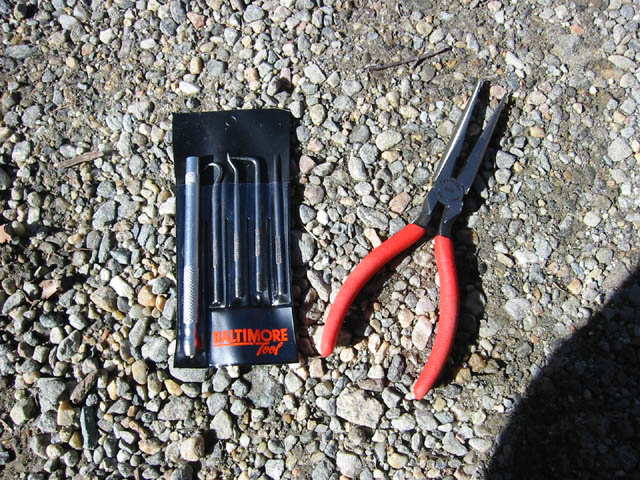
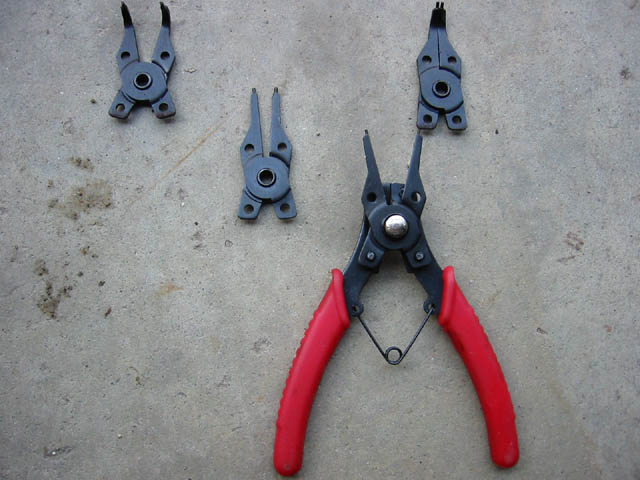
Tools Needed: †- slide hammer (optional, but correct tool)†- 1/2" ratchet, 6" extension and breaker bar †- floor jack †- jack stands †- combo wrenches †- flange nut socket (I used a 1-3/16", 12 point - not exact fit) †- various sized punches and cold chisel †- long needle-nosed pliers †- large circlip pliers †- hooks like pictured below (in place of slide hammer) †- bronze hammer †- large screwdriver(s) |
Remove the front driveshaft (and adapter flange if you have an aftermarket driveshaft).† Requires two 14 mm comination wrenches.† With the wheels chocked, CDL unlocked, transmission in neutral, emergency brake applied and front wheels on jack stands, you can turn the shaft by hand to gain access easily to all four bolts of the driveshaft.
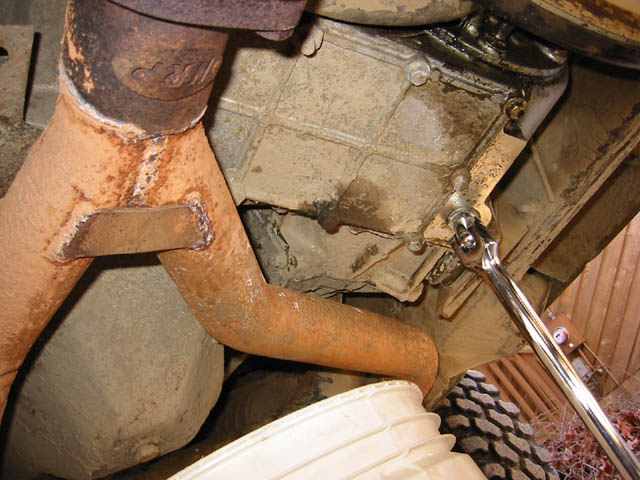
Drain the oil from the transfer case.† It is the plug at the lowest point on the transfer case, located next to some etched numbers.† This requires a ĹĒ drive breaker bar or ratchet.
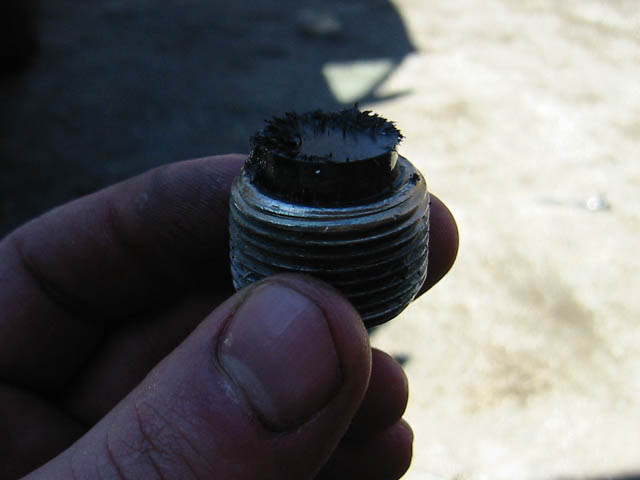
The drain plug is magnetic, so you can see the wear from within the case.† Some metal is ok, but alot should alert you to check the fluid level more frequently.

Replace the drain plug.†
Now, apply the emergency brake, select neutral and lock the CDL.† Put the front wheels back on the ground.
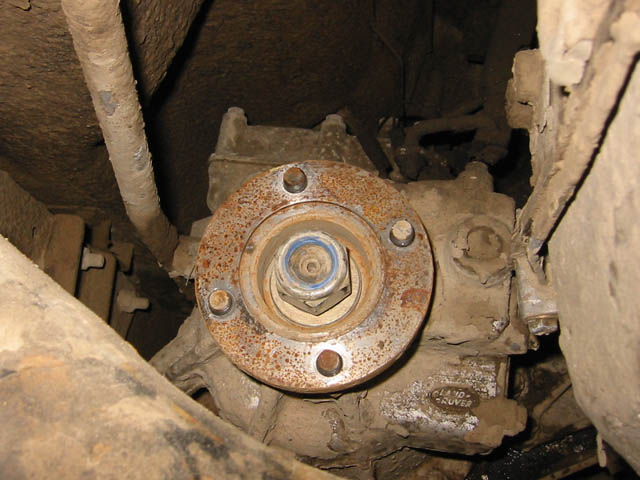
You will now see the output flange nut exposed.
 †
†
I used a 1-3/16", 12 point socket (didnít strip the nut, but not EXACT fit) and breaker bar to free the nut.† It is a nyloc nut and requires some force.
Pull off the nut and slide the output flange off of the output shaft.† Be sure not to loose the steel and felt washers in the process.† Set these aside for later.†
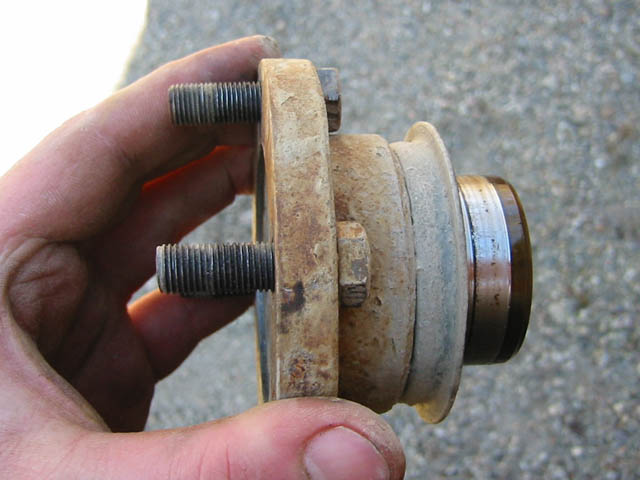
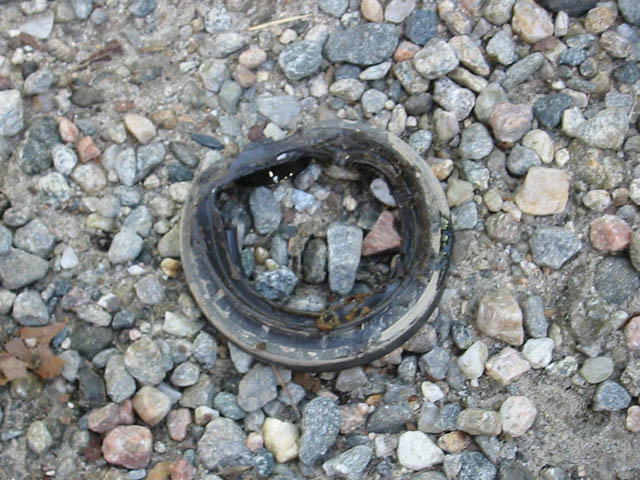
Now, the oil seal is exposed.
Using a punch and a long-nosed needle-nose pliers, pull out the old oil seal.† Note the orientation of the seal so you know how to reassemble.† This may take awhile, so be patient and donít give up.† There is metal in the seal, so use the punch to bend it in from the outer wall of the casing, then grab it with the needle-nosed pliers and pull it out.
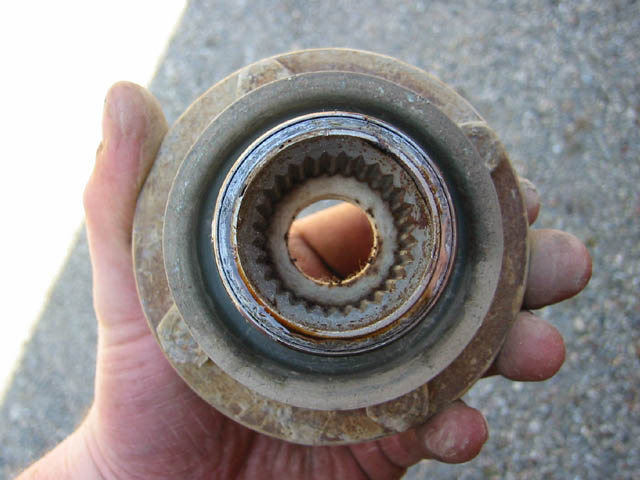
Now you see the bearing.
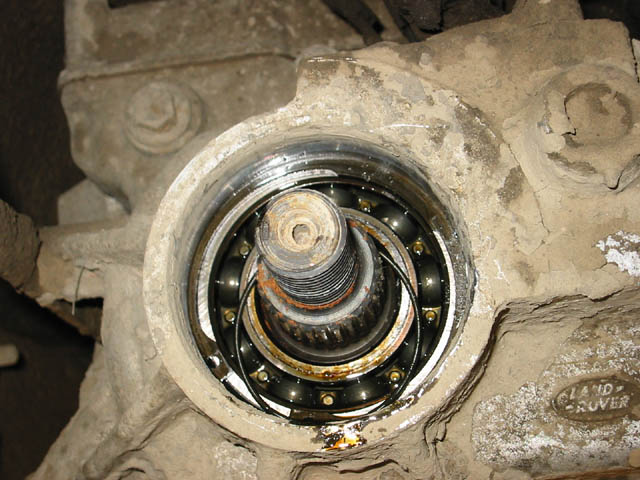
There is a large circlip holing it in place.
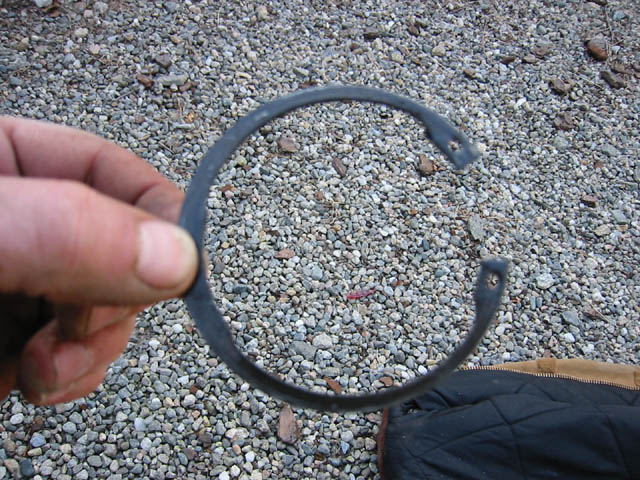
Use circlip plyers to compress it and pull it out.
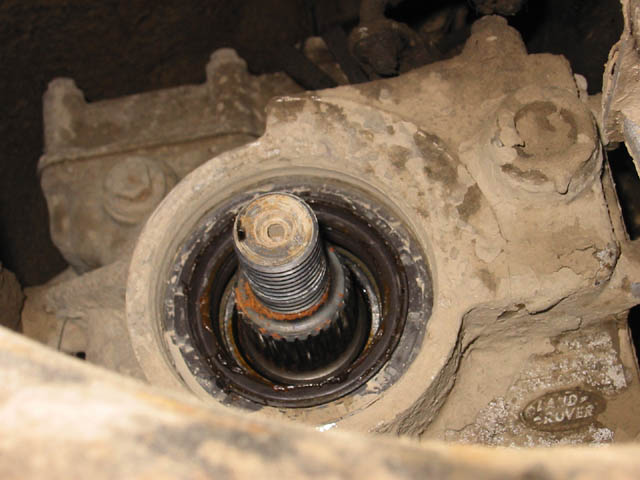
Now to remove the bearing.† The correct way to remove this is with a slide hammer, which can usually be rented at a local auto supply store.† I used a set of hooks I found at Home Depot to pull it out.†
Itís tight and takes some real finesse to remove it, pulling on at least two places on the bearing (opposite from one another, or three places with a slide hammer) so that it pulls straight out.† Otherwise, youíre exerting force onto the output shaft and the wall of the case, rather than pulling the bearing out.
Congratulations!† Now for the bearing/oil seal replacement and reassembly.† Make sure all parts going back on are very clean.† I used carb cleaner and a small wire brush.†
Take your new bearing and soak it in oil.
 †
†
Then muck it up with clean bearing grease.† Insert it straight back onto the shaft until it is tight against the spacer.† You can use any kind of contraption to push it in, but you MAY be able to do it by hand.† I used an old wheel bearing race and a punch to tap it in.† Youíll see the groove for the circlip when itís in far enough.† Then replace the circlip.
At this point, youíre ready to seal it up, so stuff plenty of bearing grease in there.† Now, to put in the new oil seal.
Take some oil and make sure the inside of the seal is moist.† Slide it in as far as you can by hand.† I had to tap it in, with a ground-down scredriver (so it's blunt and dull at the end).† Make sure itís snug against the circlip.†
Clean up the output flange and prepare it for reassembly.† I used some bearing grease on the outside where there will be friction and some white lithium grease on the splines within the flange.† Slide the flange on, checking that all is well lubed and not contaminated.†
Put the felt washer on, then the steel and the flange nut.† Tighten it with a breaker bar, until it feels right, or use a torque wrench and tighten to 162 Nm.
Fill the transfer case with gear oil, until it overflows and reinstall your driveshaft.
***Good luck.† remember, this worked for me, but is not the approved by LRNA way of doing it, so proceed at your own risk!† I'm not responsible for your work