by Marc Olivares
(Making a front Truetrac a rear or a rear a front)
Got a rear Truetrac that you want to put in your front diff? Or, just get a sweet deal on a front Truetrac that you want to put in the rear of your Disco?
If yes, then follow these few simple steps in flipping your Truetrac gears.
(For an intro on how a Truetrac functions, see great basin rovers or expedition exchange )
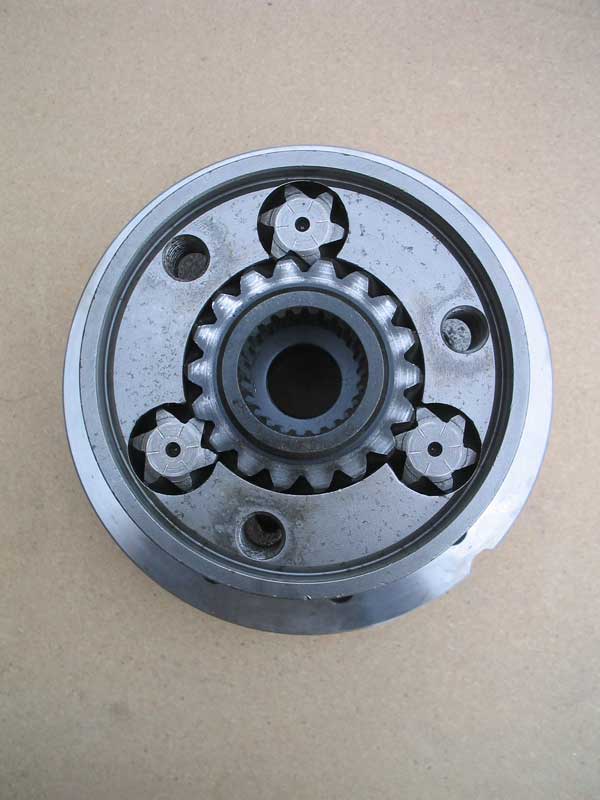
For the purpose of this article, I will refer to the ring gear end of the Truetrac
Ā(i.e. the side with the ring flange) as the bottom and the opposite end being the top.
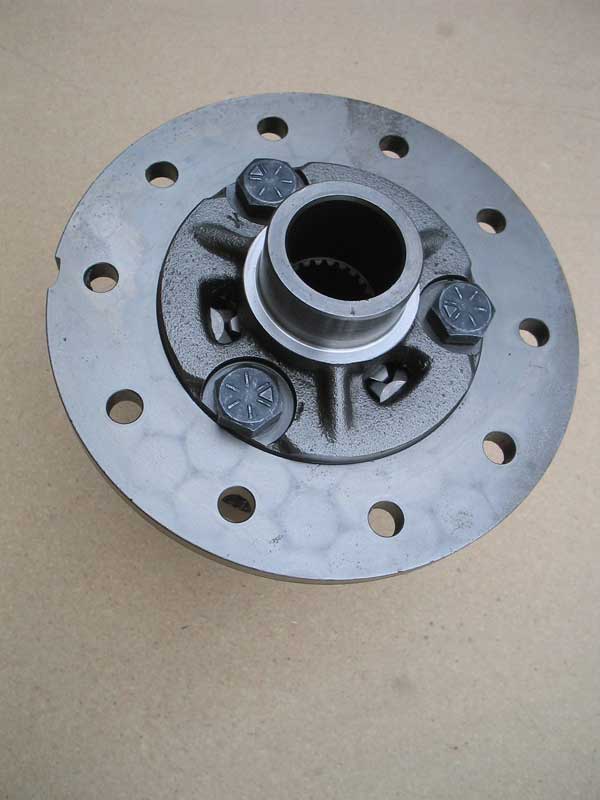
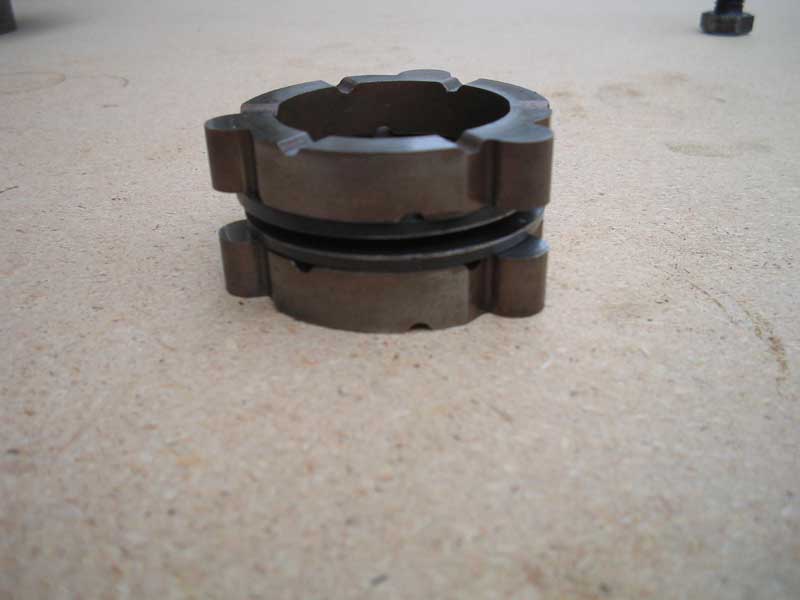
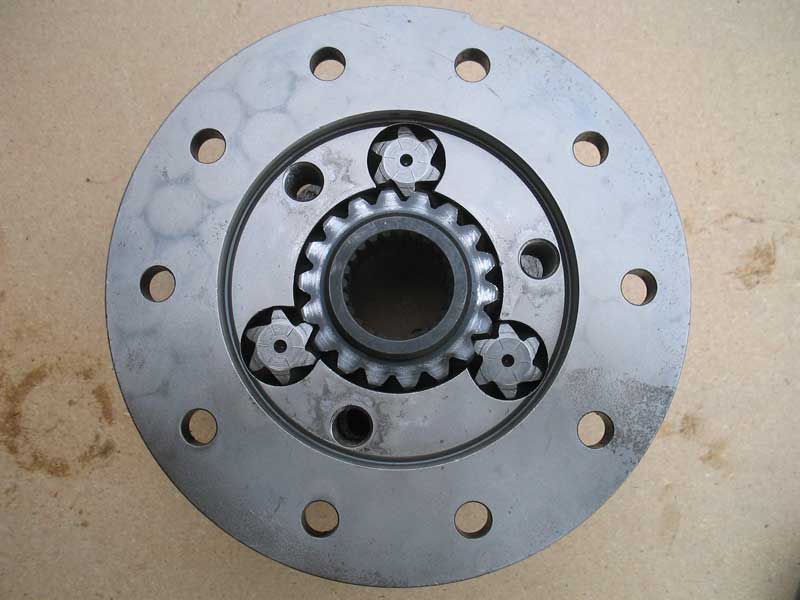
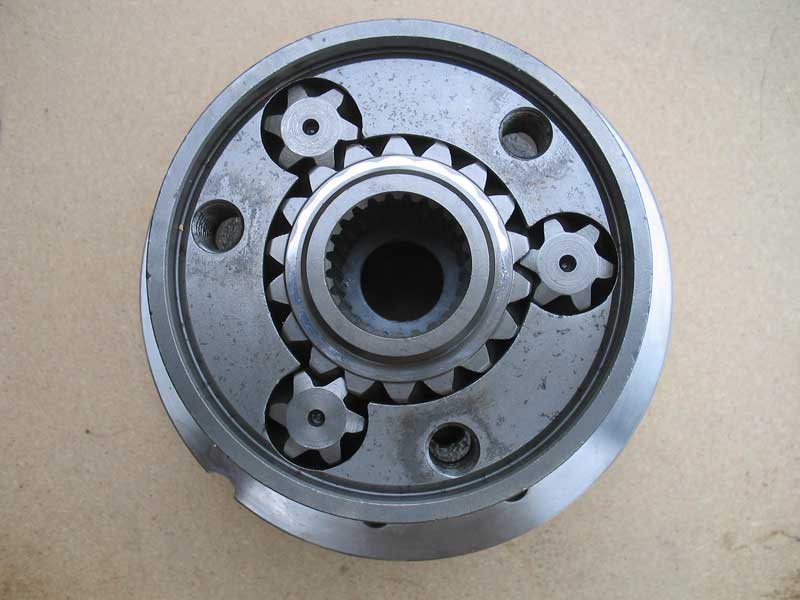
In the photos below, photo 1 is of the ring gear flange facing up, or bottom facing up.
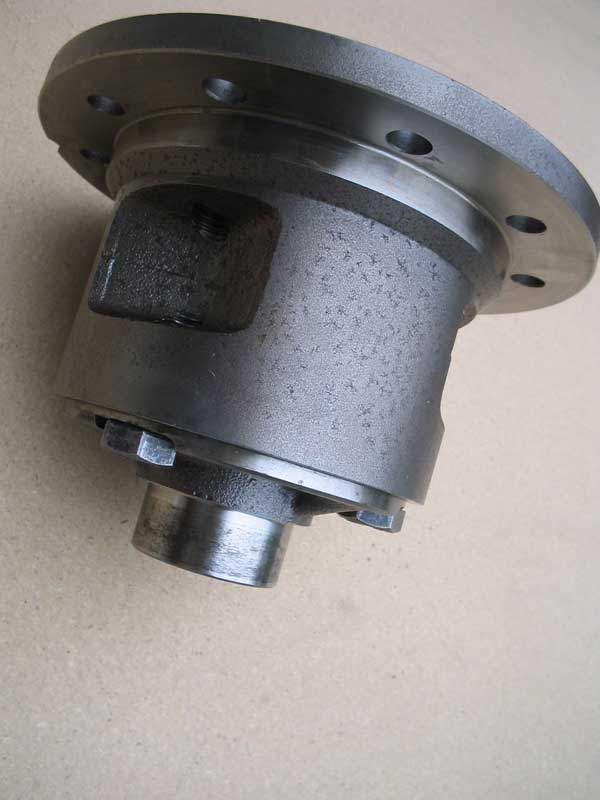
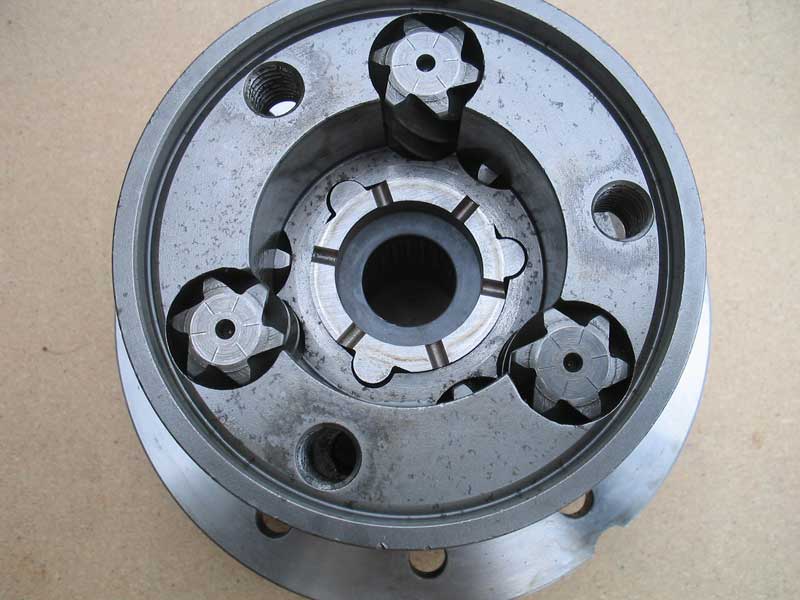
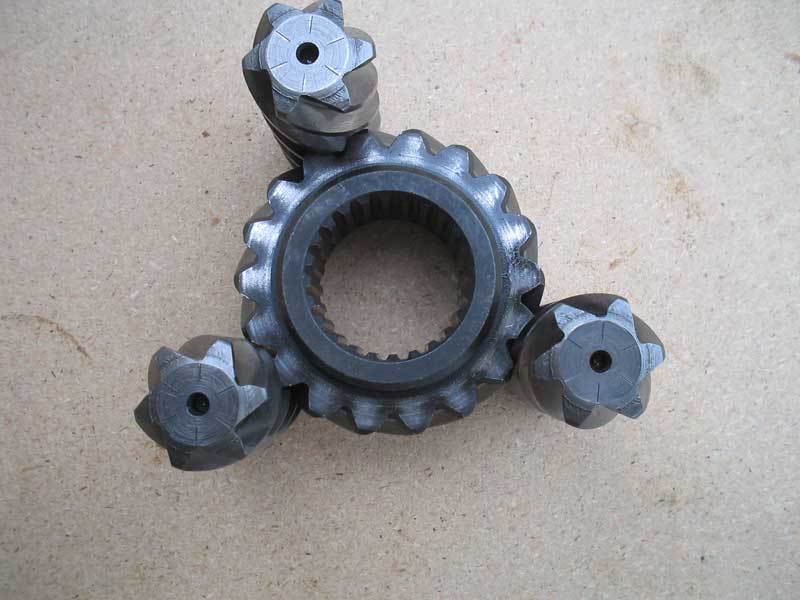
Photo 2 is of the Tractech Truetrac carrier
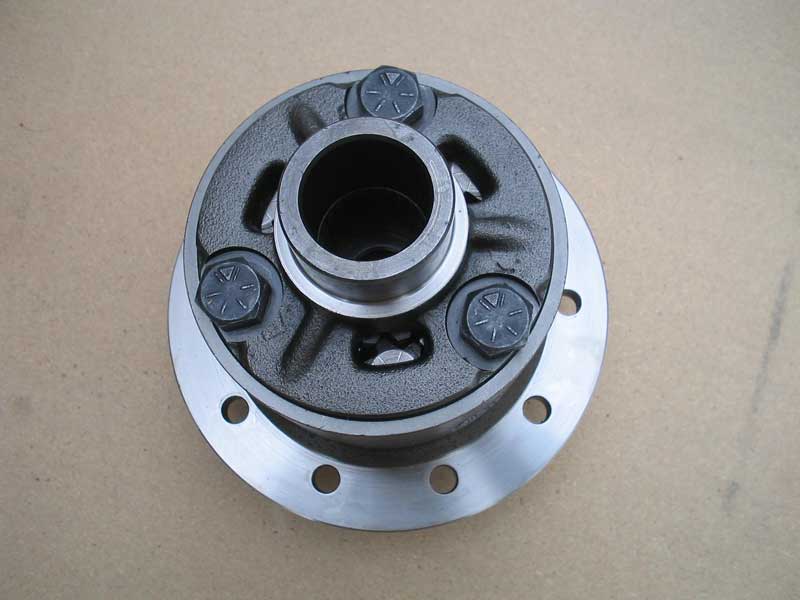
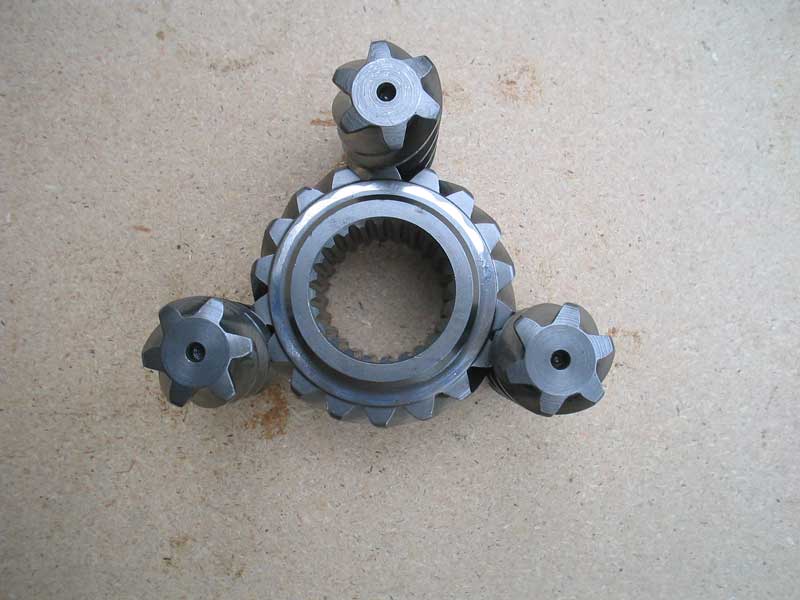
Photo 3 is of the top facing up.
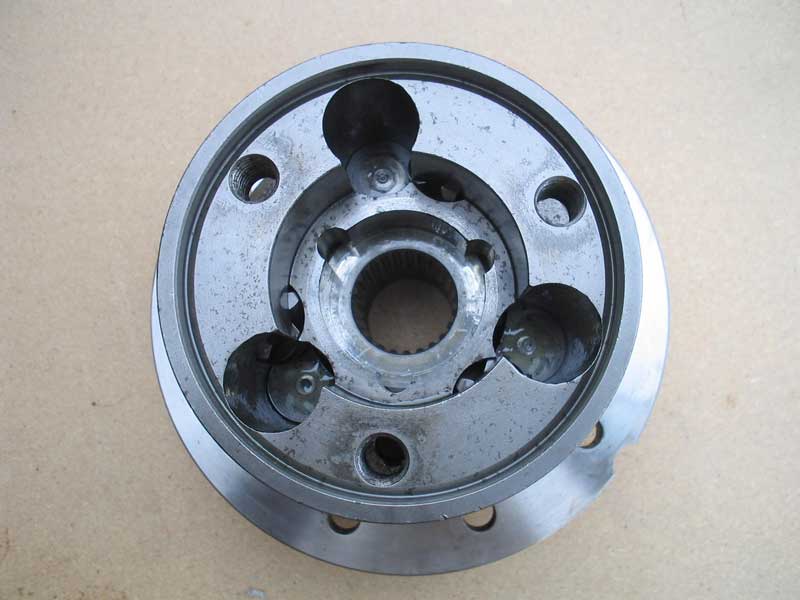
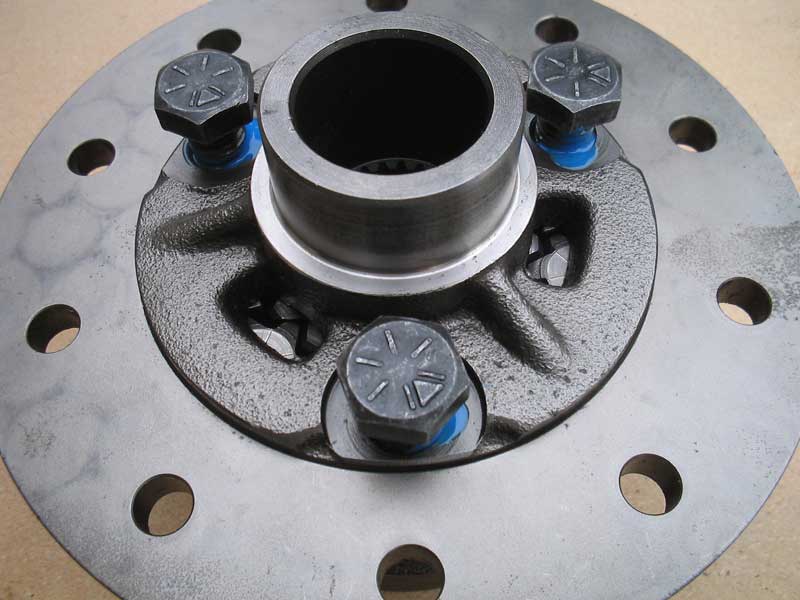
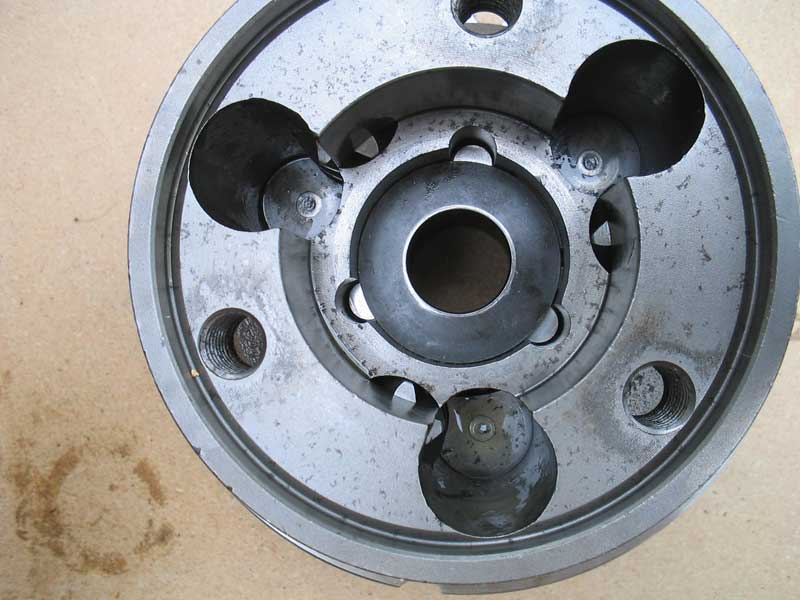
With carrier bearings removed, place Truetrac ōTOPö facing up on a clean work surface.
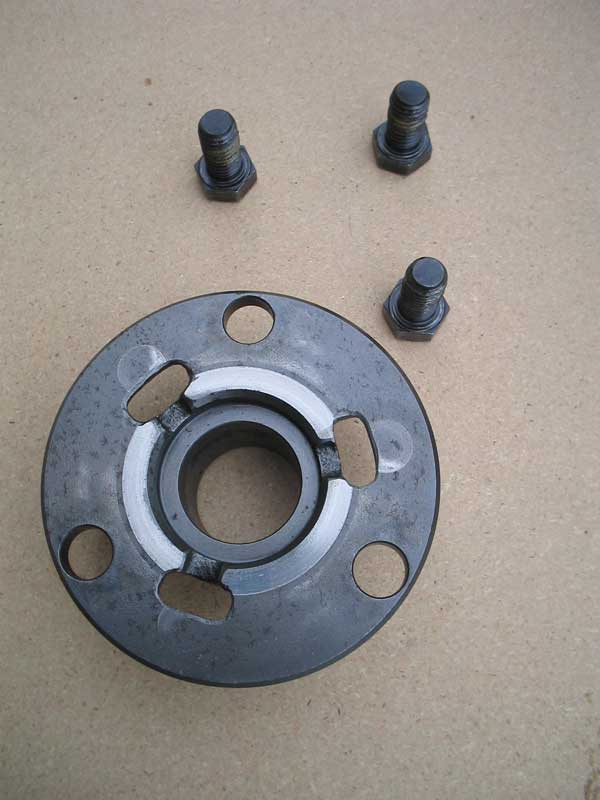
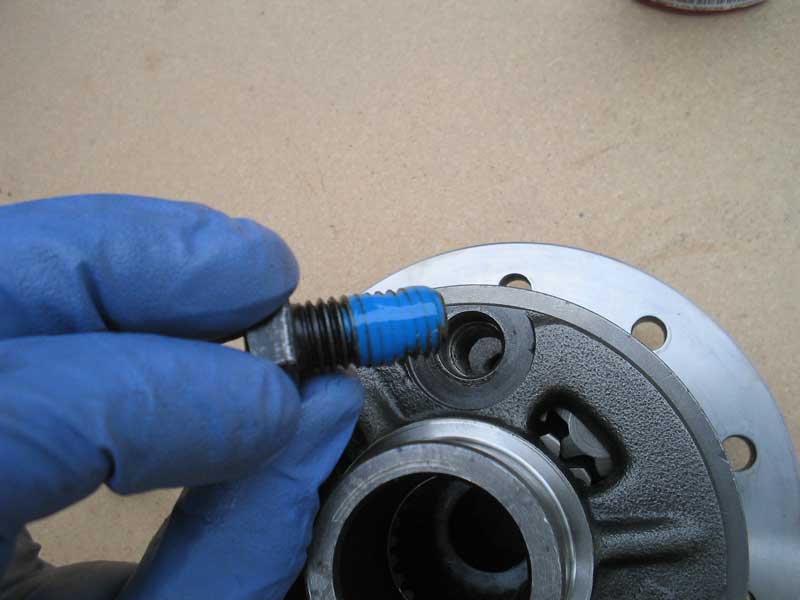
Remove the (3) 19mm bolts and cap from the top of the carrier
Note the orientation of the gears.
This is important, so if you are easily confused take some digital photos before continuing on further. In order to keep this simple, the rotation of the center gear will be the rotation designation. So if, when removing the center gear, the gear spins up and clockwise, it will be called CLOCKWISE.Ā For this example, I am setting up a front Truetac to be a rear, so the rotation of my TOP gear is COUNTER-CLOCKWISE.
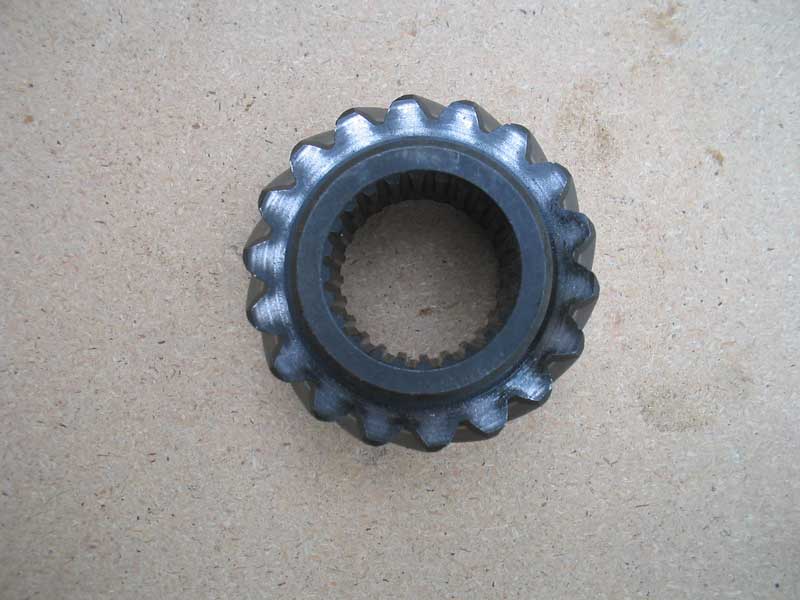
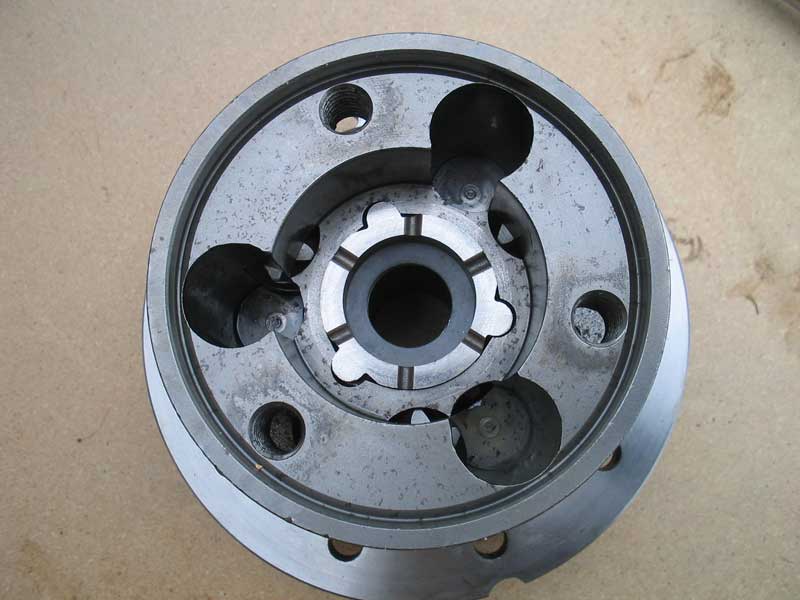
Remove center gear
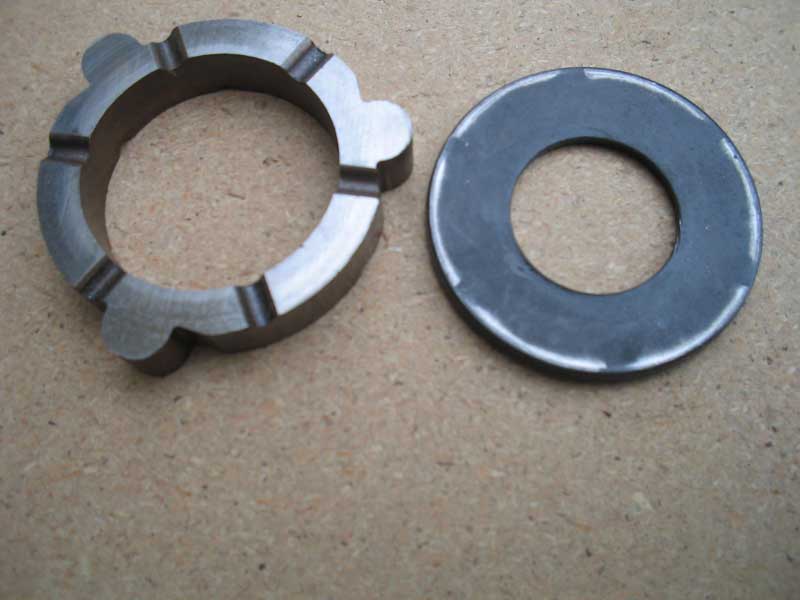
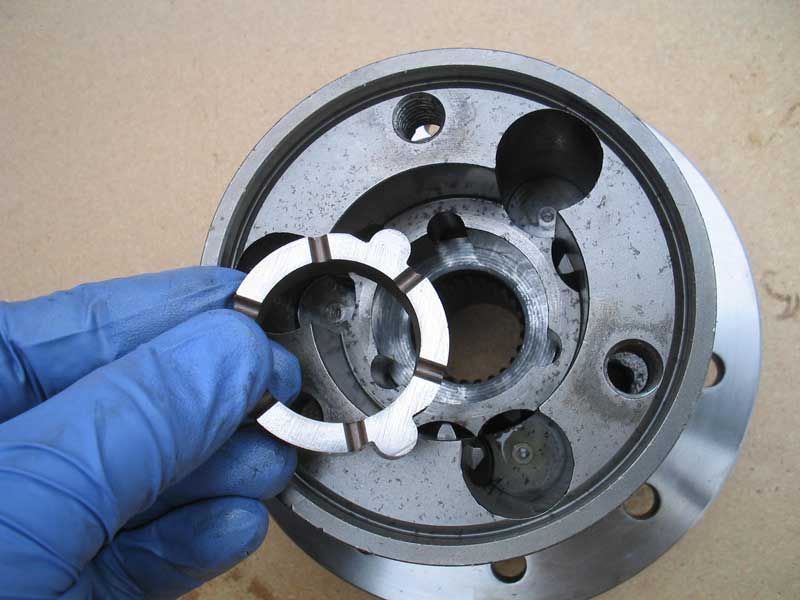
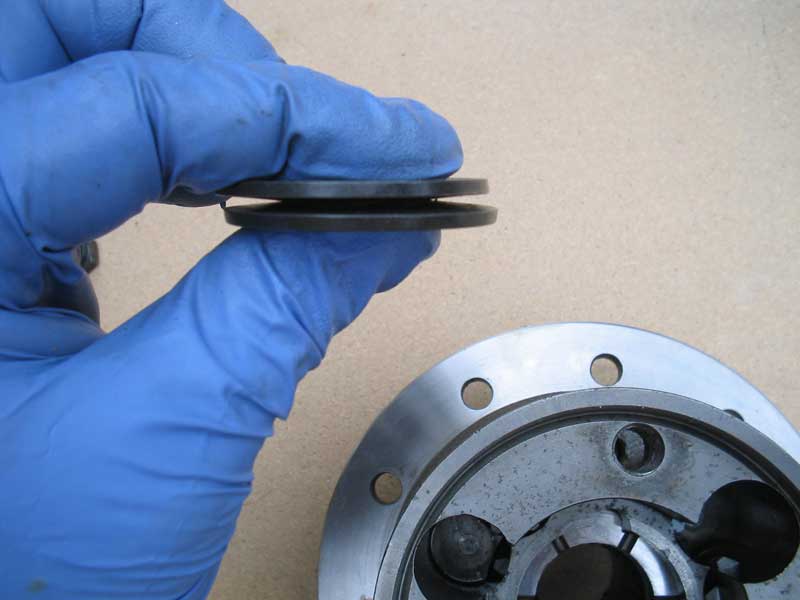
Remove both sets of friction rings and coned washers.
Note the orientation of the coned washers.
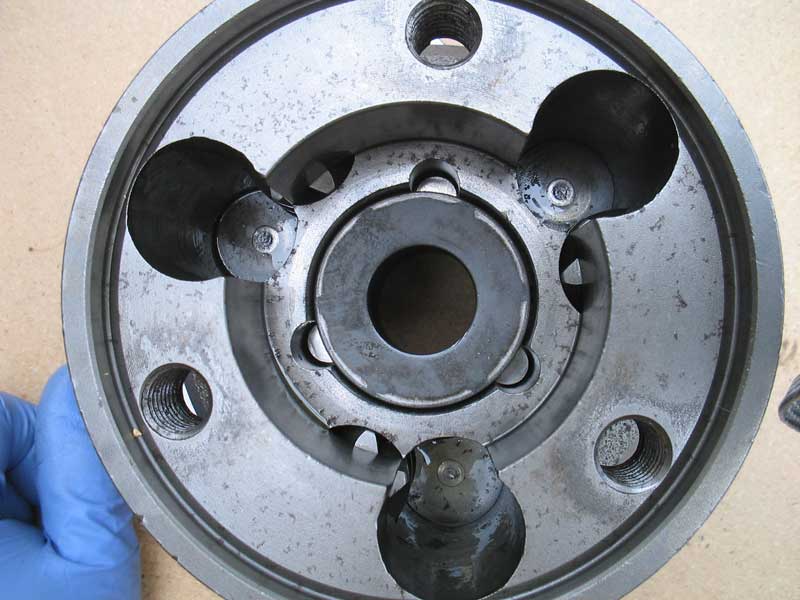
Remove the 3 outer helical gears and place next to the center gear.
(As a reminder, mark table ōTOP GEARSö)
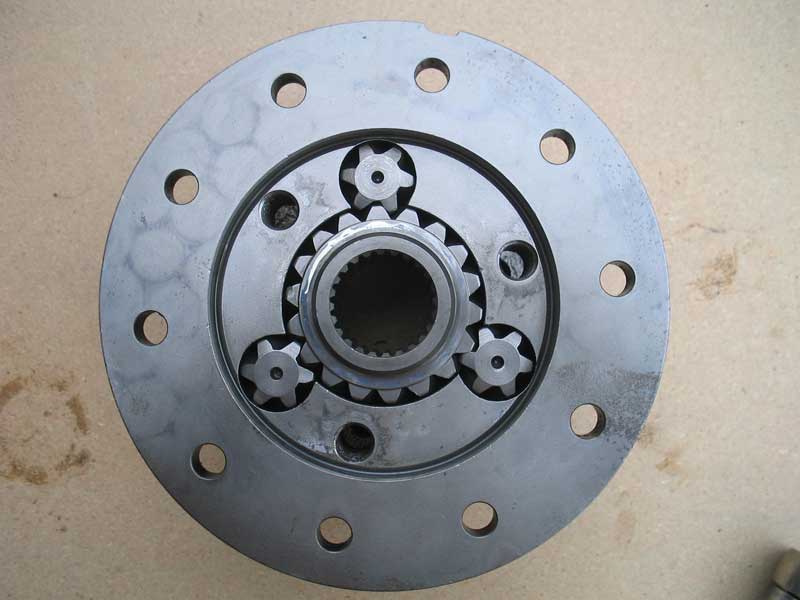
Top of carrier w/ no gears
Now rotate/ invert the carrier 180 degrees, so the ring gear flange (or bottom) is now facing up. Remove the (3) 19mm bolts and end cap.
Note the rotation of the gears.
Now the center gear when rotating up spins CLOCKWISE.
Remove center gear and outer helical gears.
Place on table and label ōBOTTOM GEARSö
Now with the bottom of the carrier still facing up, install the (3) outer helical and center gears that were labeled ōTOP GEARSö on your table. The counter-clockwise or ōTOP GEARSö are now being place on the bottom side of the carrier.
Install cap and (3) 19mm bolts with locktite and torque to 65lbs
Now invert the carrier once again so that the ōTOPö is facing up.
Install friction rings and coned washers.
(Note the coned washers flare out towards the friction rings)
Now install gears labeled ōBOTTOM GEARSö on the table, in the carrier.
Note that the gears on the top side now rotate CLOCKWISE.
Install cap and (3) 19mm bolts with loctite and torque to 65 ft-lbs.
Now install a new set of bearings, (Timken set 47) and youÆre ready to install in your third member.Ā
If the gears rotate CLOCKWISE on the top end of the carrier, itÆs a REAR Truetrac
If the gears rotate COUNTER-CLOCKWISE on the top end of the carrier, itÆs a FRONT Truetrac.
(all typical disclaimers apply)