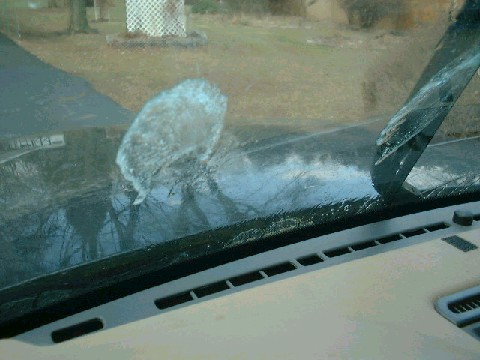
Relocation of Windscreen Washer Reservoir
Discovery Series 2.
Text and Photos: Dean Brown
Materials Required:
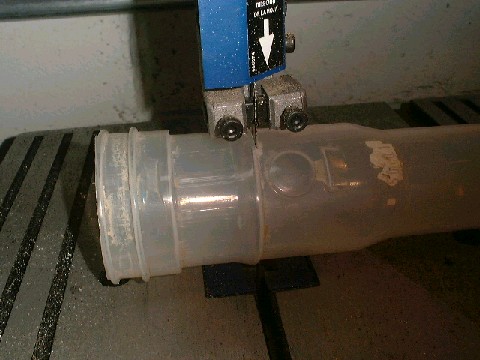
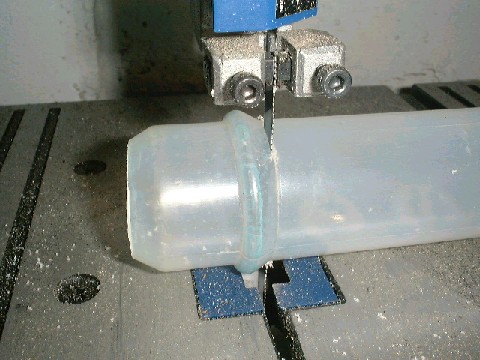
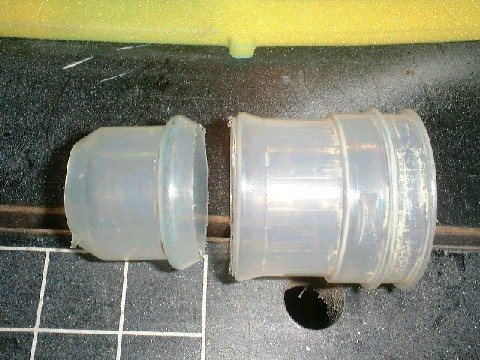
5. Apply silicone sealant, and push the lower end of the pipe as shown into the upper end:
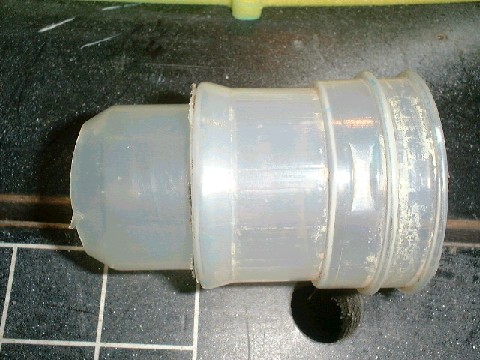
6. Allow the silicone to cure for a day or two. Silicone sealant is resistant to methanol when cured.
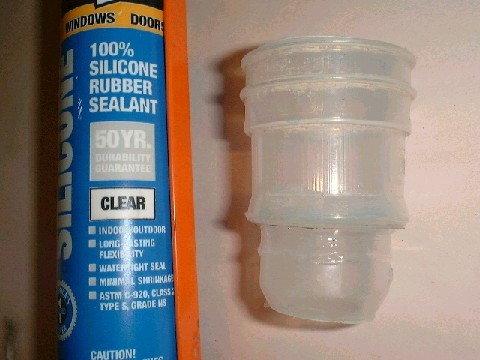
7. Insert the filler pipe into the reservoir, and seal with silicone. Allow� to cure.

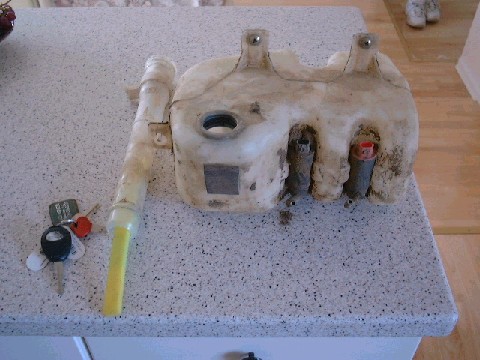
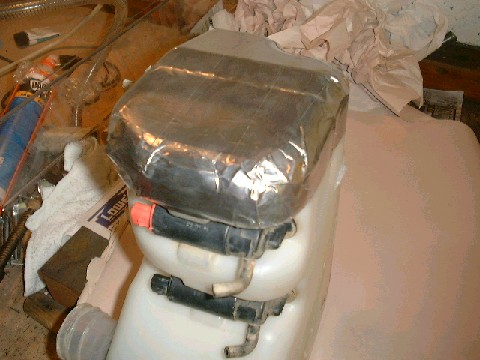
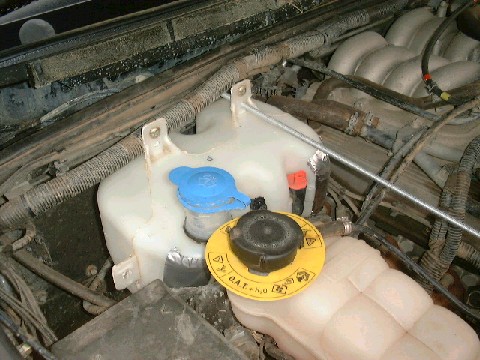
8. Although this is probably not absolutely necessary, I stuck aluminum tape over the corner of the reservoir that will be closest to the engine, to reflect some of the heat from the exhaust manifold:
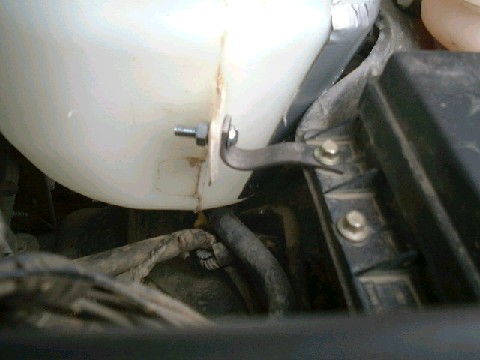
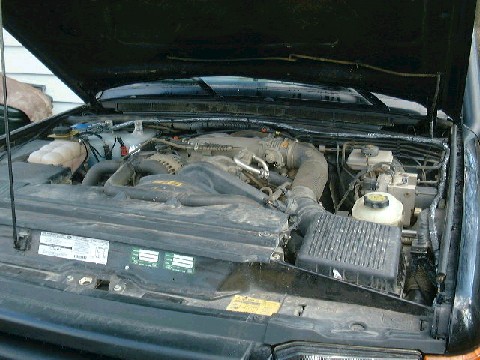
9. There is room behind the radiator overflow tank to mount the reservoir. It is a tight fit, and there are convenient anchor points at hand. I used a length of threaded rod to attach the existing tabs on the top of the reservoir to the rear firewall. Two holes must be drilled through the thin metal firewall just below the rubber seal. In this way the external nuts are easily accessible. Drill two holes in the plastic reservoir tabs if necessary, or remove and enlarge the existing mounting bolts.
Attach multiple layers of duct tape to the corner of the reservoir where it may rub on the fuse box mount (just below the blue filler cap lid in the photos).
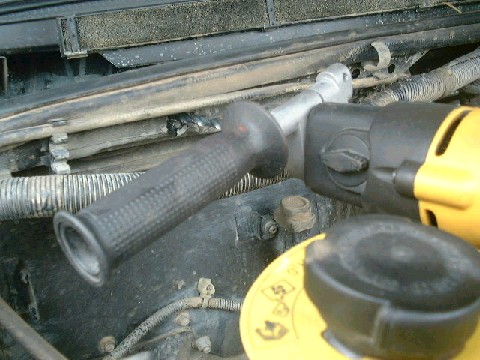
10 Drilling the mount holes:
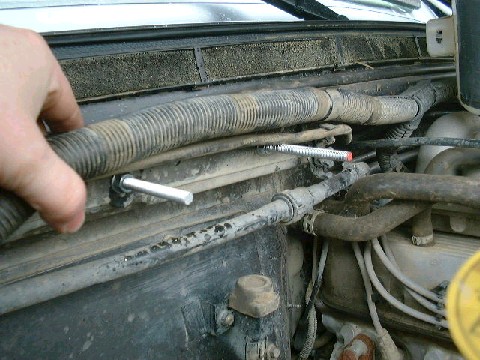
11. Threaded bolts (x 2) are cut and attached with lock washers and nuts on either side of the firewall. The same is used to attach the reservoir to the other end of these bolts.
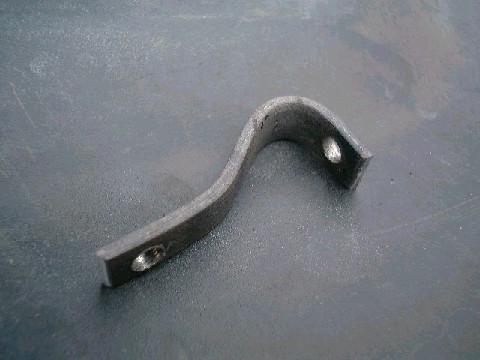
12. Make a small steel makeshift bracket to secure the third tab on the reservoir to the fuse box holder bolt, as shown. This bracket may be different depending on the relative positions of your tank and fuse box:
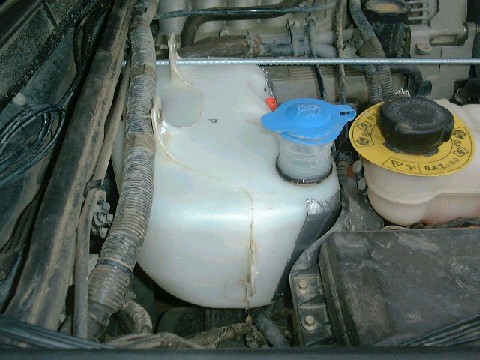
13. The mount is finished:

14. Pull out the existing ends of the washer tubes and cables. The matching washer tubes and cables come taped together.
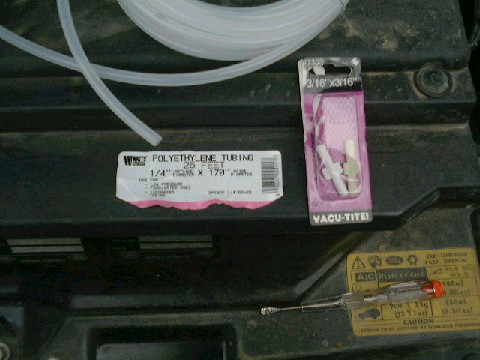
15. Make a 12 foot harness out of the following materials:
i) 2 x Polyethylene tubing 0.25" o.d. 0.17" i.d.
ii) 2 x Double stranded electric cable ("speaker" cable).
iii) Duct tape, to wrap the harness.
Mark the ends of the wiring and tubing, so that you know which ones are which.
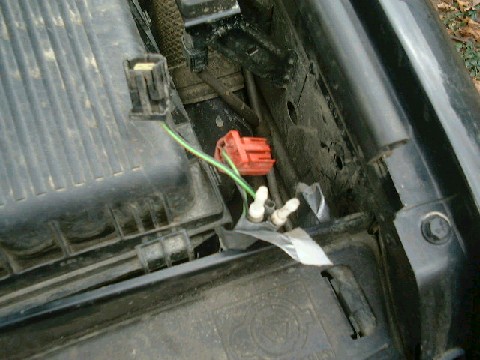
16. Cut off the two electrical connectors, leaving an inch or so of wire. One connector is red and one is black, and they fit into sockets of similar color on the reservoir. Attach the speaker wire extension to the rover harness wires, and wrap with insulating tape. Attach the tubing to the existing plastic vacuum connectors.
17. Feed the harness around from the air box to the reservoir, attaching with zip locks. Be careful to prevent the harness from touching the bare antilock brake pipes, as they get hot enough to melt plastic.
18. At the reservoir, attach the electrical connectors to the speaker wire extensions. Attach the tubing to the pumps, with 3/16" straight vacuum connectors. Plug the electrical connectors into the pumps.
19. Test the pumps. It might be wise to keep a fire extinguisher handy for the next few days, considering that wiper fluid is made predominantly of methanol.