
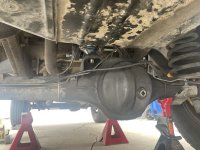
1997 D1. Surprisingly, this wasn't that big of a deal. Thankful it's a South West truck. 2 hours start to finish including my fumbling around. I'm having shoulder surgery in 2 weeks so I'm scrambling to complete PM's before I'm a one armed bandit for a while.
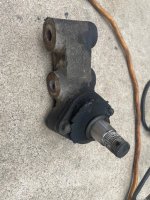
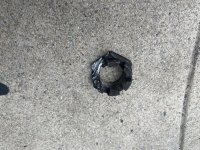
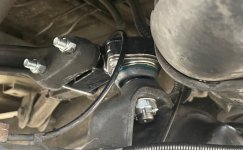
The two cross bolts were a piece of cake once I broke out the pneumatic impact gun. First they soaked in PB Blaster for about 30 minutes. A whack on the end of the nut from a sledge hammer to set the tone and zip zip zip they spun off. Once I confirmed those bolts were going to be no problem, I had to tackle the castle nut which was being very stubborn. I'm still not sure of the correct size of the nut or of the the replacement. 30mm seemed the closest but it still seemed sloppy. Maybe my cheap Chinese wrench was the issue. After coming to the realization that it was not going to come off, the angle grinder and cut off wheel resolved the issue. A good solid tap on the end of the ball joint with the sledge popped it about 1/2 way out. I pulled the two cross pins which took tension off the assembly and it popped out easily.
Reinstallation was only a challenge because I had a lot of trouble getting to 130 foot lbs on the two cross pins using only one functional arm while laying on by back under the truck but I finally got it there.
All fluids and grease fitting done. Next weekend new brake pads and fuel filter and I should be good to go for a while.
Attachments
Last edited:

