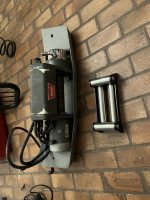
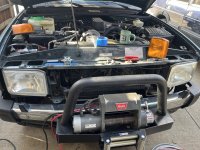
Im working on putting the factory winch tray on my LSE and dont want to give up the brushguard.
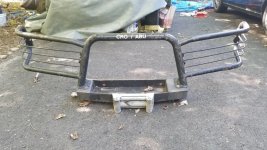
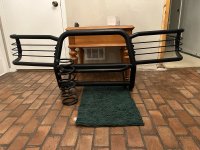
The Treks and some XDs had a brushguard that looks like a cut down version of the standard one bolted to the winch tray.
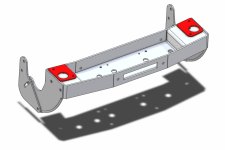
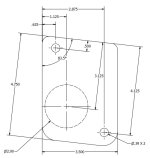
Does anyone have access to one of these that could grab a couple of flange measurements for me? They are the red items in the drawing
The Treks and some XDs had a brushguard that looks like a cut down version of the standard one bolted to the winch tray.
Does anyone have access to one of these that could grab a couple of flange measurements for me? They are the red items in the drawing